Open Dental
Install the IOC Snapshot software. If you need a link for the download it is:
https://iocsnapshot.com/IOC_Snapshot.exe
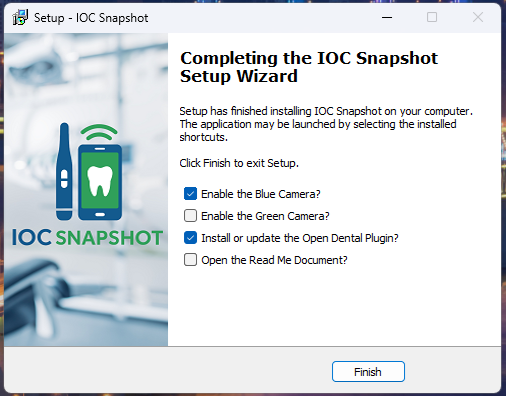
Optional: If you are not on support with Open Dental then you cannot use the Open Dental Video Button. Instead you can use the plugin which also enables accepting images over wifi via the IOC Snapshot iPhone\Android application or Canon cameras. At the end of the installer, checkmark the box that says Install or update the Open Dental Plugin?
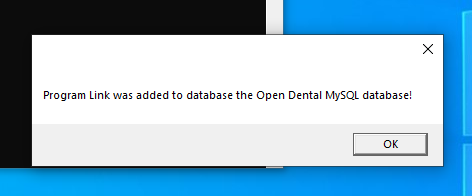
- If you see this popup during the installation, then the plugin was successfully added to the database. If you do not see this scroll to the bottom of this web page to manually add the plugin.
Enter in the license key when you see this window.
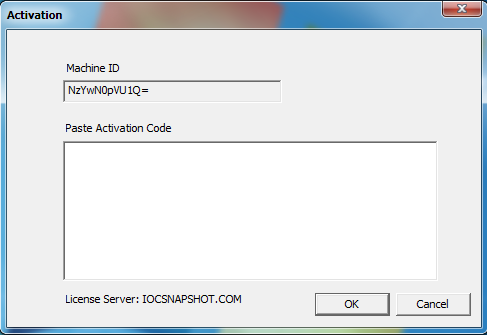
If you would like to use a trial key, this one is good for 2 weeks:
846S-95GY-DWQ4-CU35-2YHD-H8VX-14C6-2UWZ
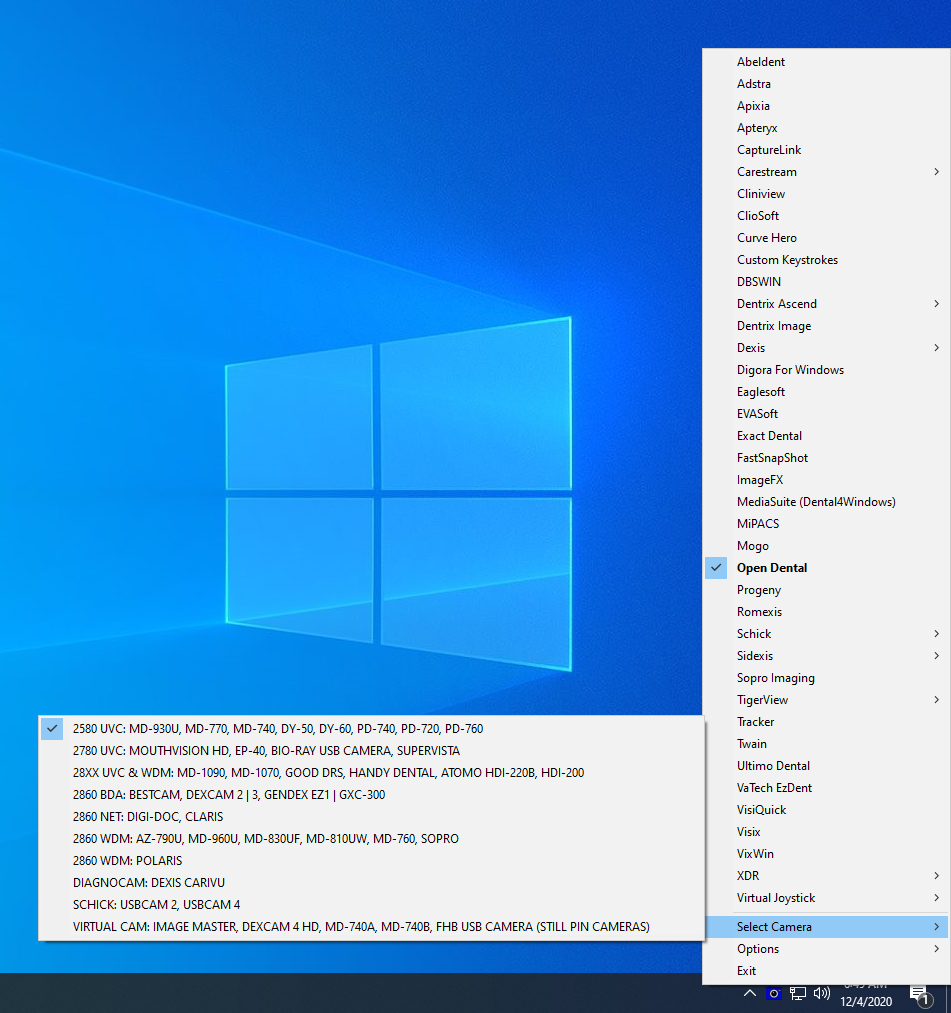
2. After the installation you will see a blue camera icon in your system tray, right click it and select Open Dental in the list of programs. Right click the blue camera again and go to Select Camera, and choose the camera you want to work with. The checkmark boxes should look similar to this:
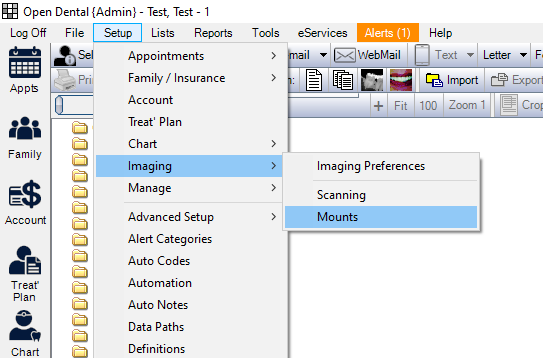
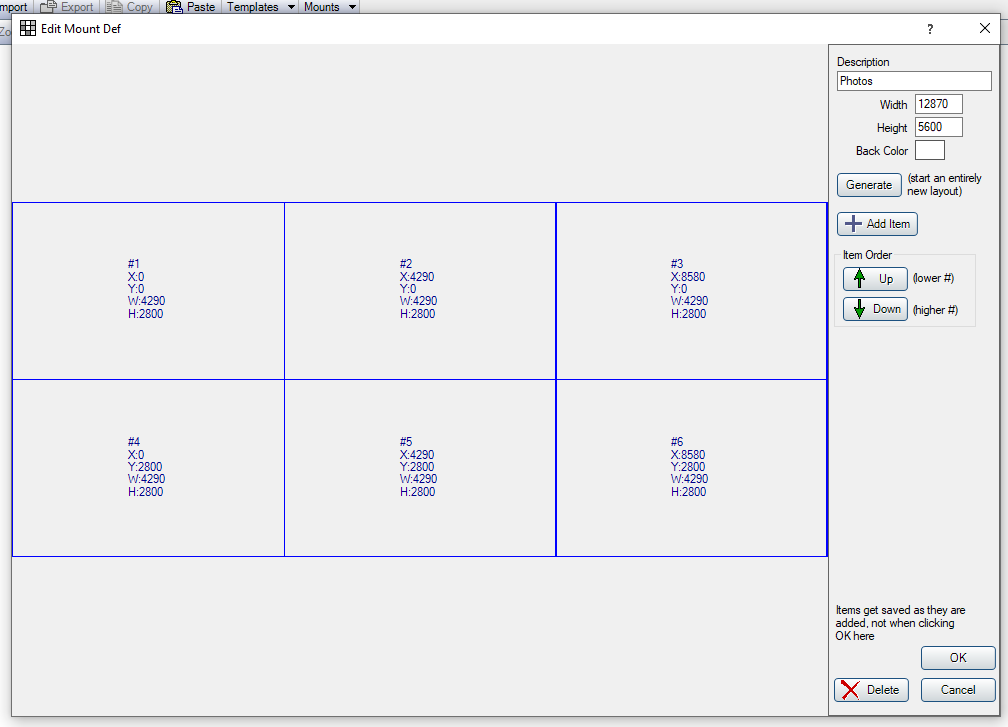
3. Time to create a mount. Run Open Dental and select a patient and go to Imaging. Go to Setup, Imaging and then Mounts.
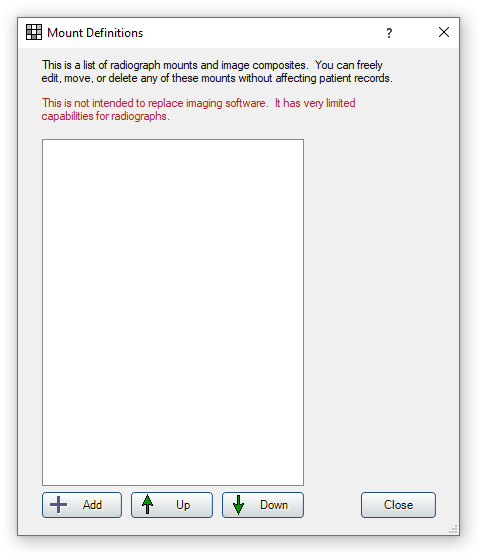
Click on Add.
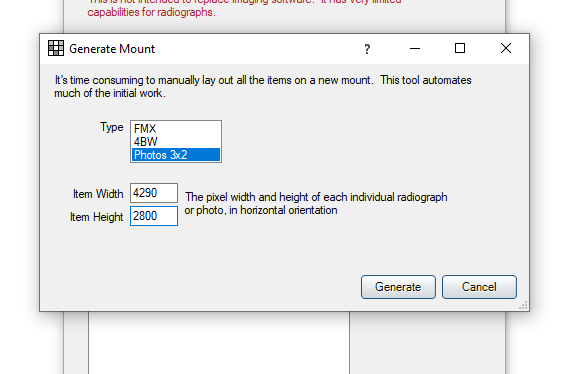
Click Photos 3×2. For the width and height I choose 12 Megapixel resolution based on what the camera I am using uses. Click Generate.
Click Ok. If you want to add more tiles to the mount then this is the area to do that in.
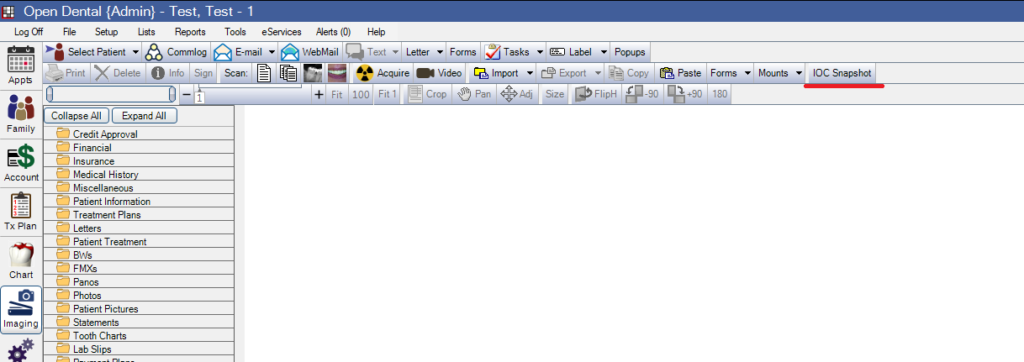
5. Time to acquire images. Click on the IOC Snapshot button in the Open Dental toolbar.
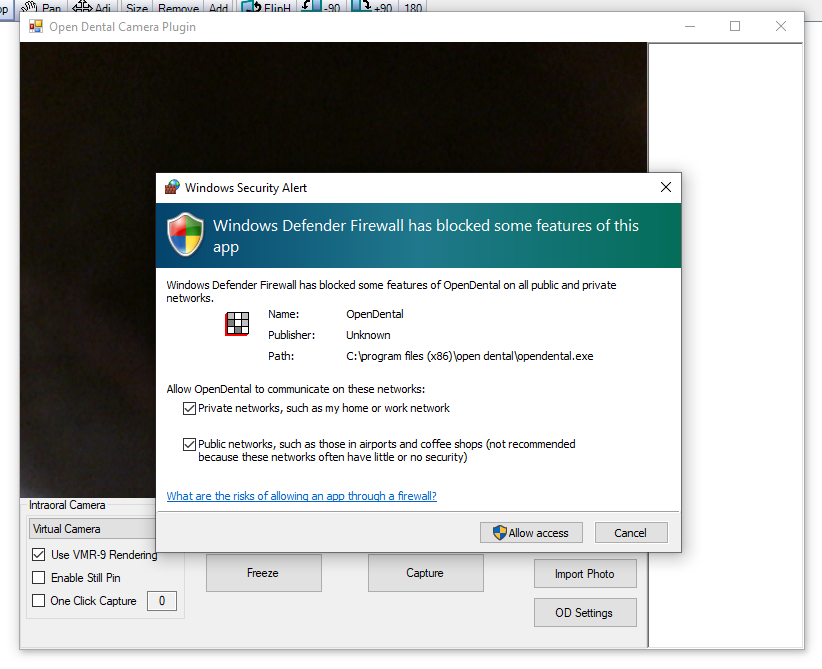
- If you want to take images from an iPhone or Android camera via Wifi, click the Phone and DSLR Button and start taking images. If the Windows Defender Firewall asks, checkmark all the buttons and click the Allow access button. Be sure to use the Private Wifi for the office and NOT the guest Wifi. It also helps to use the 5GHz spectrum instead of 2.4 GHz for faster transfer rates between the PC and Phone.
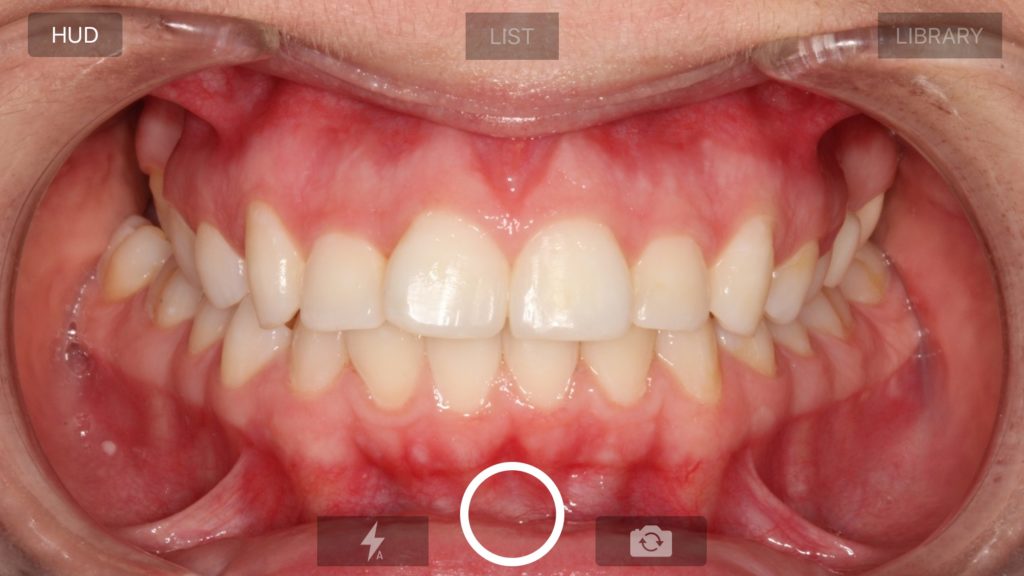
Open the IOC Snapshot app on the phone and choose a computer from the list. Now take an image.
- If you want to take images from a Canon EOS Camera, connect a USB cable to the Camera or pair the camera in the Canon EOS Utility that comes with your camera for Wifi. The USB cable method is more reliable.
- If you want to take images from an intraoral camera, choose your camera from the dropdown list. Your camera should have been configured in the blue camera program and you can also enable Still Pin acquisition if your camera has the capability.
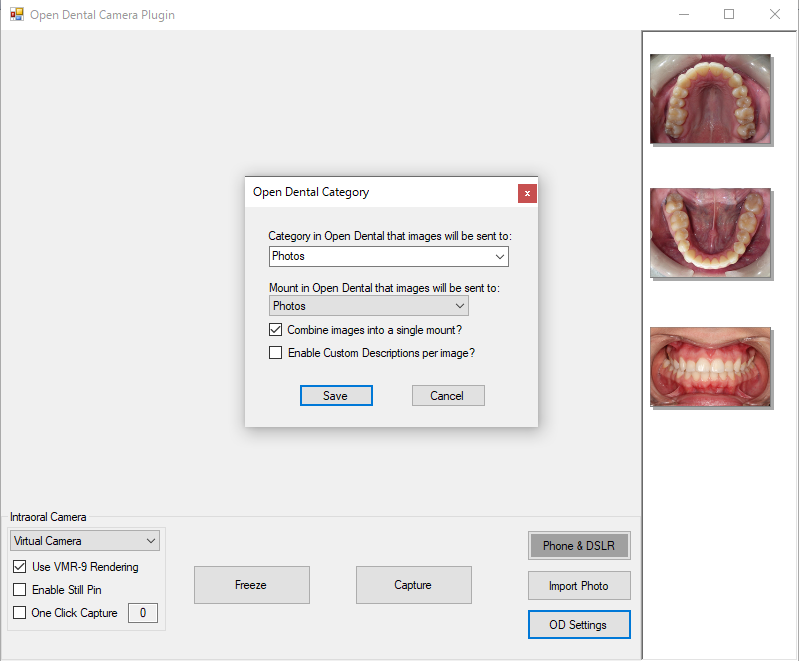
5. Set the options for the plugin. Click the OD Settings button. If you want to send all the images into a mount, select the mount in the dropdown list and checkmark the box to combine the images into a mount. If you Enable Custom Descriptions then you will be prompted for the Tooth number of each image after acquisition. You can also change the Category of the images in the Category dropdown list.
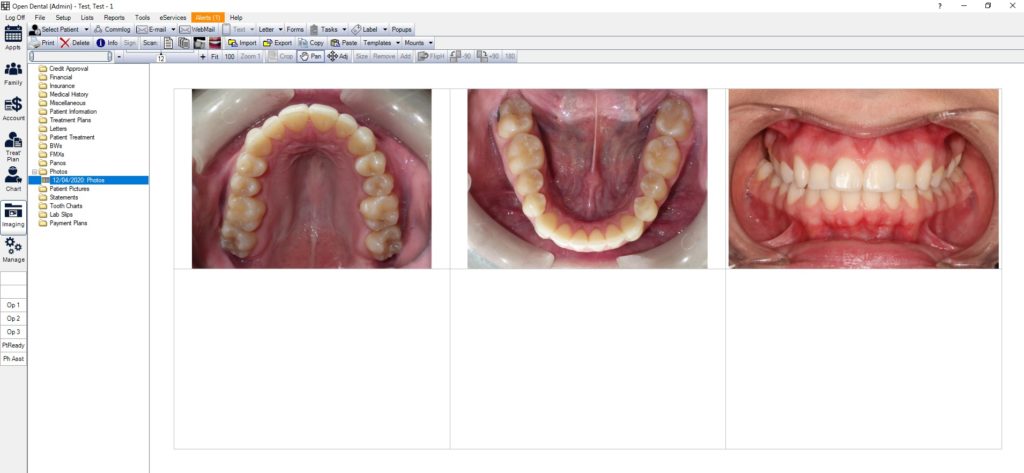
6. When you close the window, the Images will be stored in Open Dental.
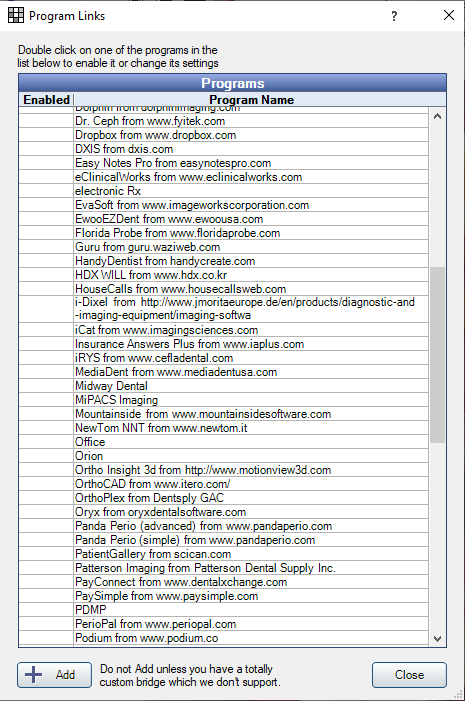
7. Only for people who need to manually add the Plugin to the database. How to manually add the Program Link for Open Dental if the installer fails to do so or if you have the Middle Tier.
- Go to Setup and then Program Links inside of Open Dental. This window will appear. Click the Add button.
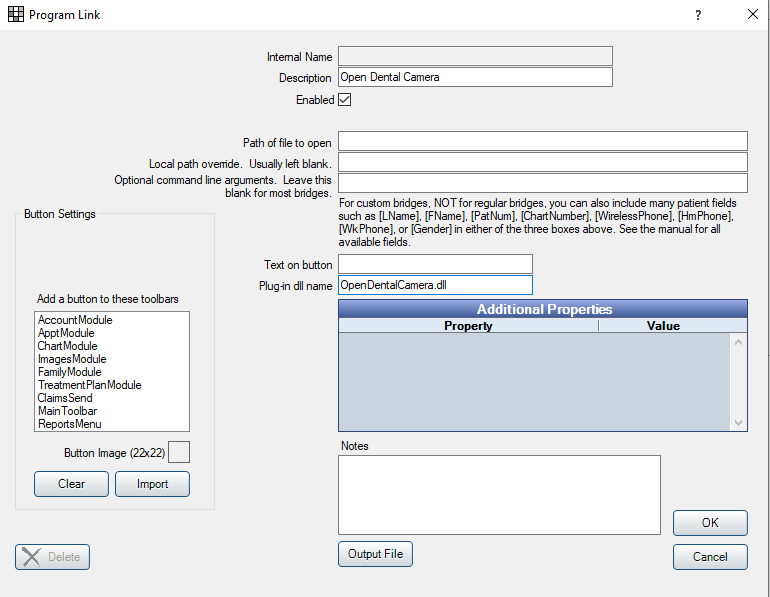
- Make the window look just like this one below:
- Restart Open Dental and the plugin will be loaded. Now you should be able to use the Import button.