Sidexis XG
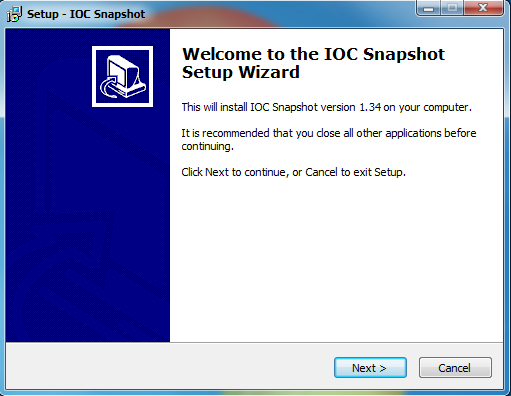
1. Install the IOC Snapshot software. If you need a link for the download it is:
https://iocsnapshot.com/IOC_Snapshot.exe
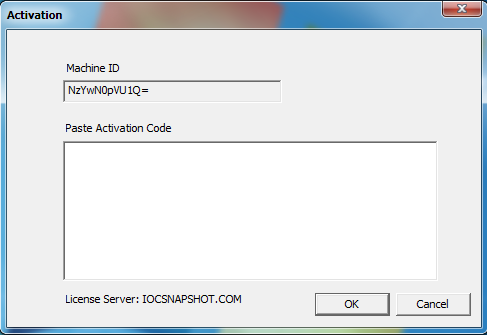
Enter in the license key when you see this window. If you would like to use a trial key, this one is good for 2 weeks.
846S-95GY-DWQ4-CU35-2YHD-H8VX-14C6-2UWZ
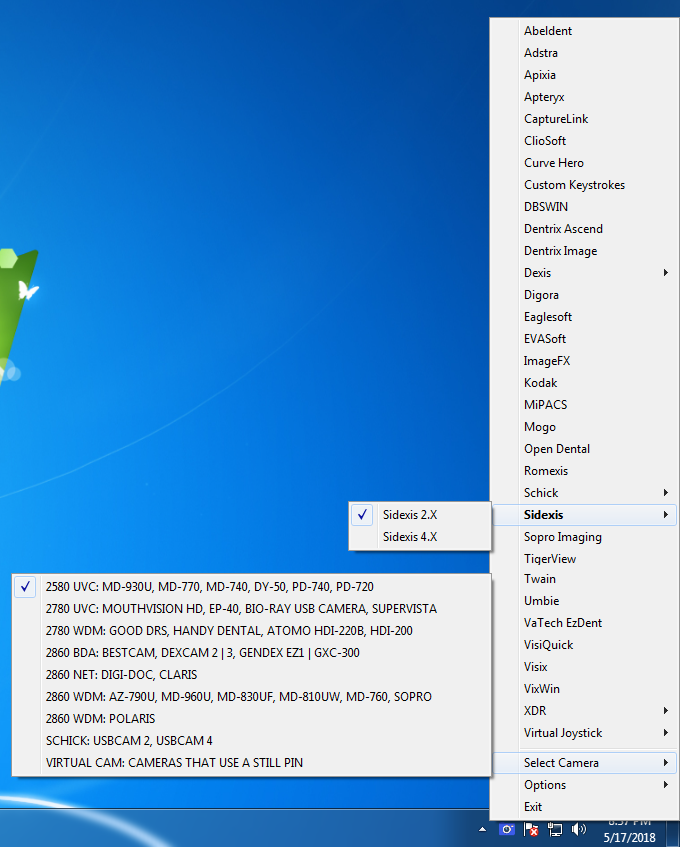
2. After the installation you will see a blue camera icon in your system tray, right click it and use your mouse to hover over Sidexis, then select Sidexis 2.X in the list of programs. Right click the blue camera again and go to Select Camera, and choose the camera you want to work with. The checkmark boxes should look similar to this:
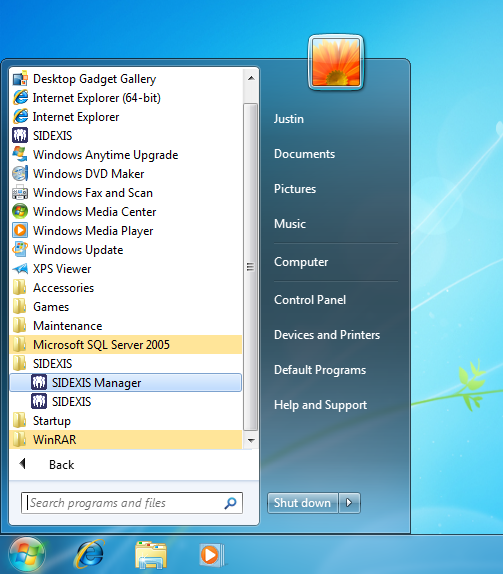
3. Run the Sidexis Manager, by clicking on the windows start button, go to All Programs, Sidexis, then click on the Sidexis Manager.
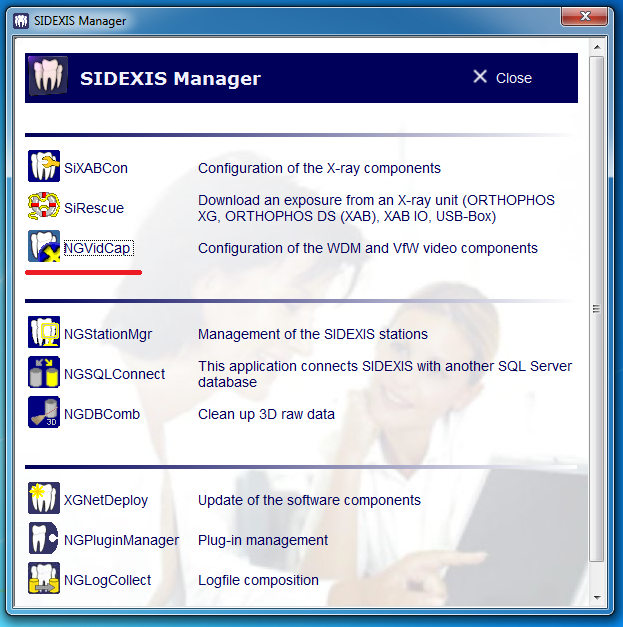
4. From the Sidexis Manager, click on NGVidCap
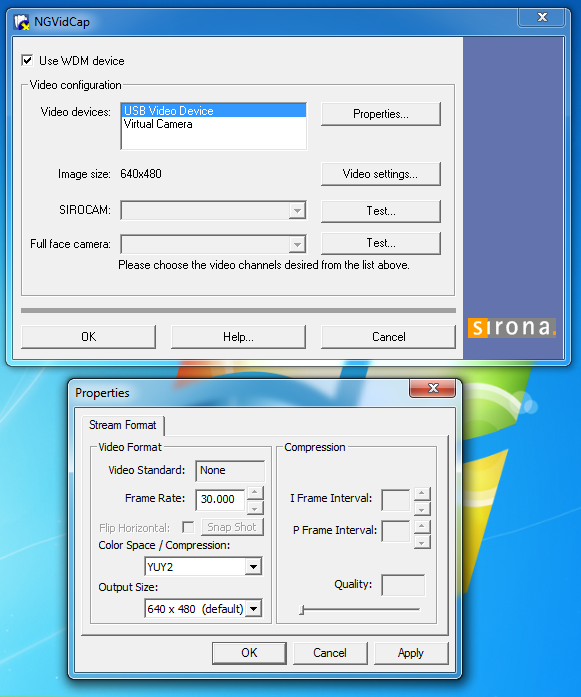
5. From NGVidCap, checkmark the Use WDM Device box, then click Video Settings and if you have the option, select YUY2. If your frame rate is low in Sidexis with a preview image of your camera, you may try to use the Virtual Camera instead. This may fix a delay in the image you may encounter with your camera. Click Ok, and close NGVidCap.
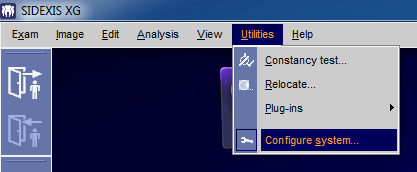
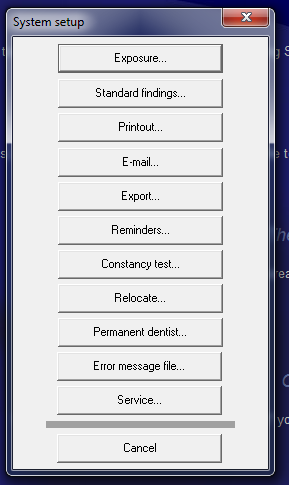
6. Open Sidexis XG, go to Utilities, then click on Configure system. Now click on Service in the System setup window. You will be asked for the service password. This is today’s date, but backwards. So if it is May, 17th, the password is 5071.
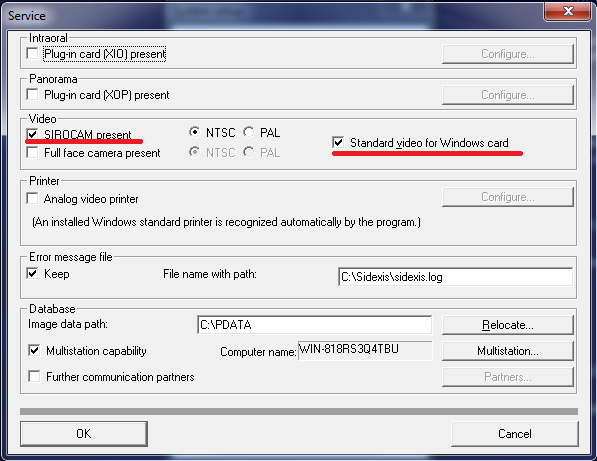
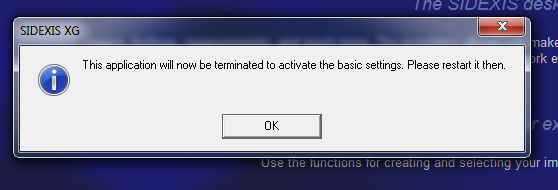
7. Click the checkmark boxes for SIROCAM present and Standard video for Windows card. then click OK. When you click Ok, the applications will terminate.
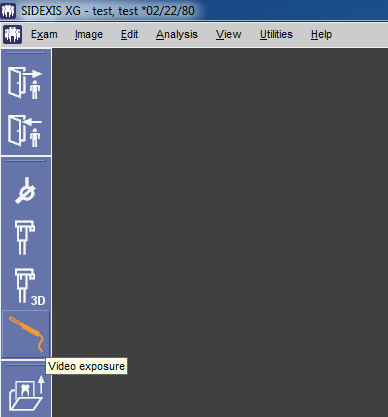
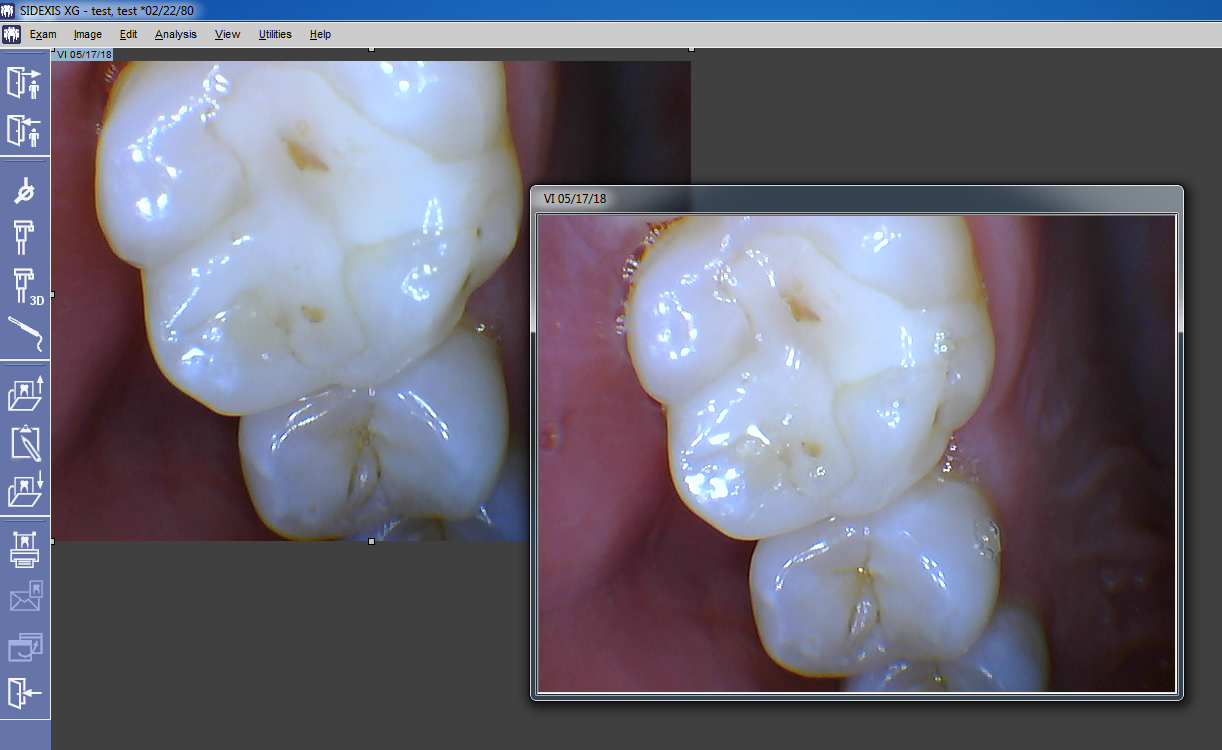
8. Run Sidexis XG again, and you are ready to take images. Open a patient then click the Video exposure button.
9. Press the camera’s capture button to take images. When you are finished press the escape key on the keyboard.
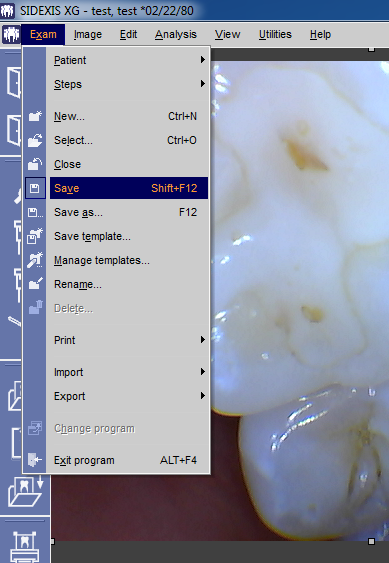
10. Now save the exam, and you are finished. The images you took will be saved into that Exam.