Perfect Cam Manual for Eaglesoft
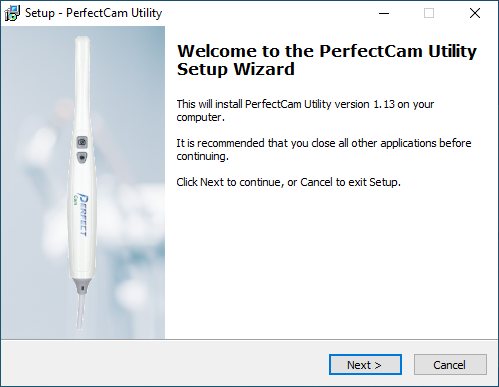
1. Install the PerfectCam Utility software. If you need a link for the download, it is:
https://iocsnapshot.com/PerfectCamSetup.exe
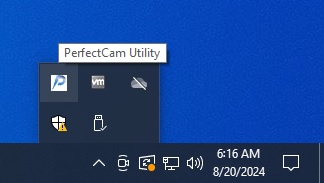
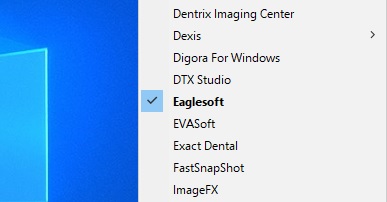
2. After the installation, you will see the PerfectCam icon in your system tray. Right-click it and select Eaglesoft.
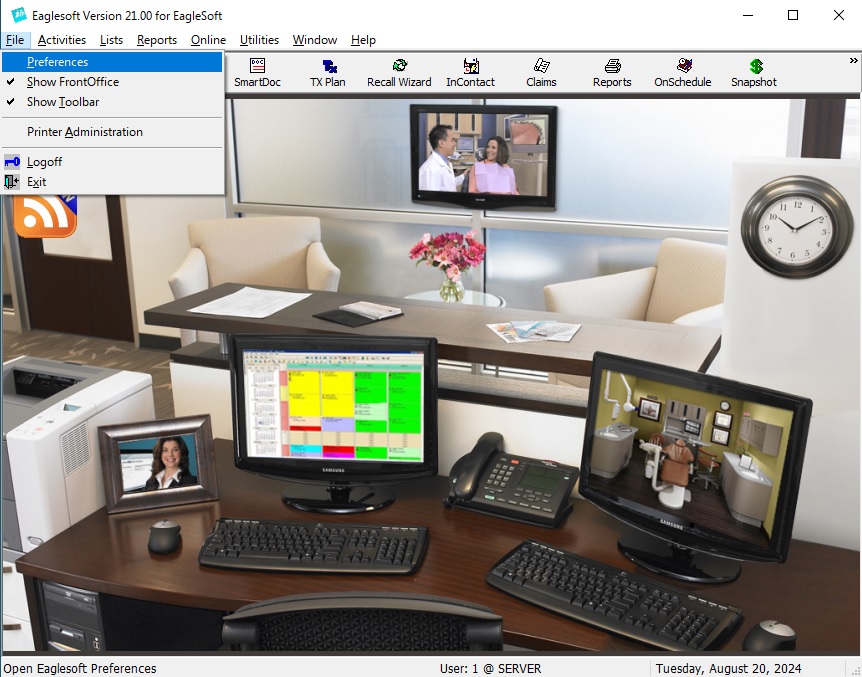
3. Run Eaglesoft and go to File and then Preferences.
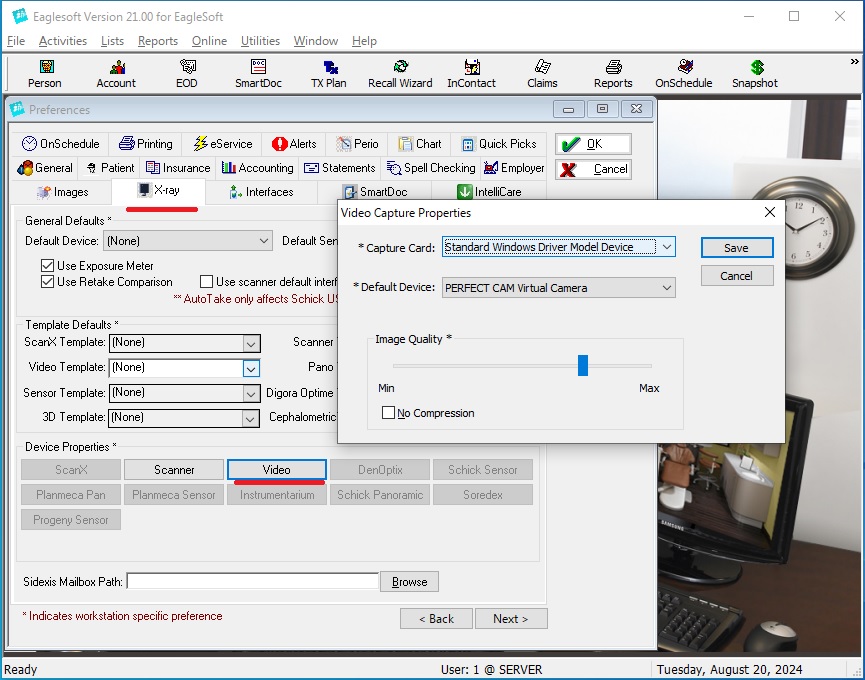
4. Click on the X-Ray Tab, then hit the Video button. The Video Capture Properties window will pop up. Change the Capture Card drop down menu to say Standard Windows Driver Model Device. Then change the Default Device drop down menu to PERFECT CAM Virtual Camera. Click Save and then click the OK button on the Preferences window.
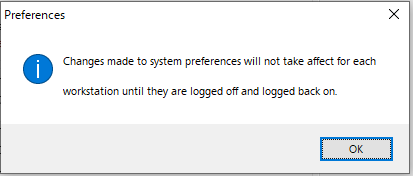
5. If you see this window, just click OK, you don’t have to restart Eaglesoft for this setting change to go into affect.
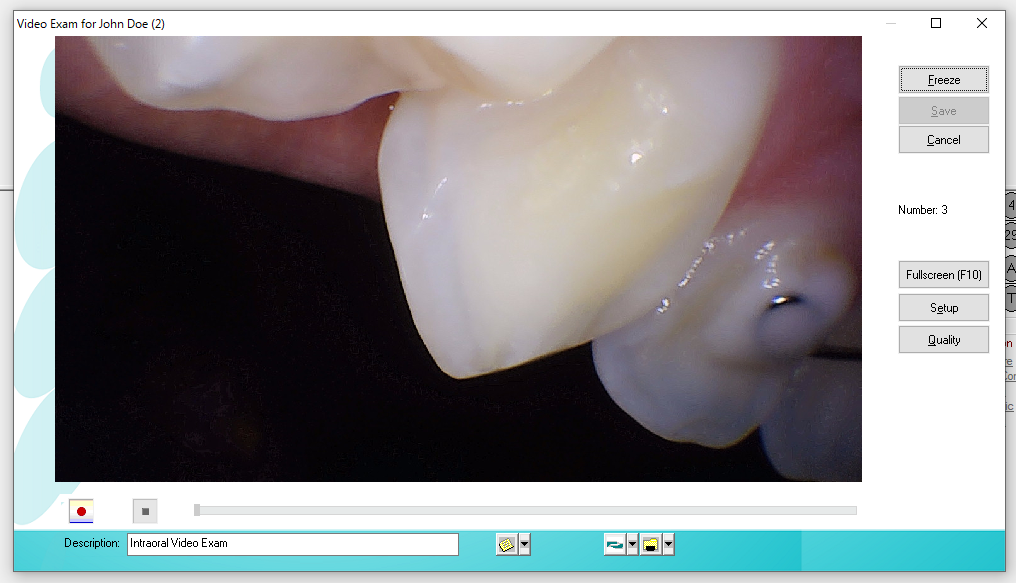
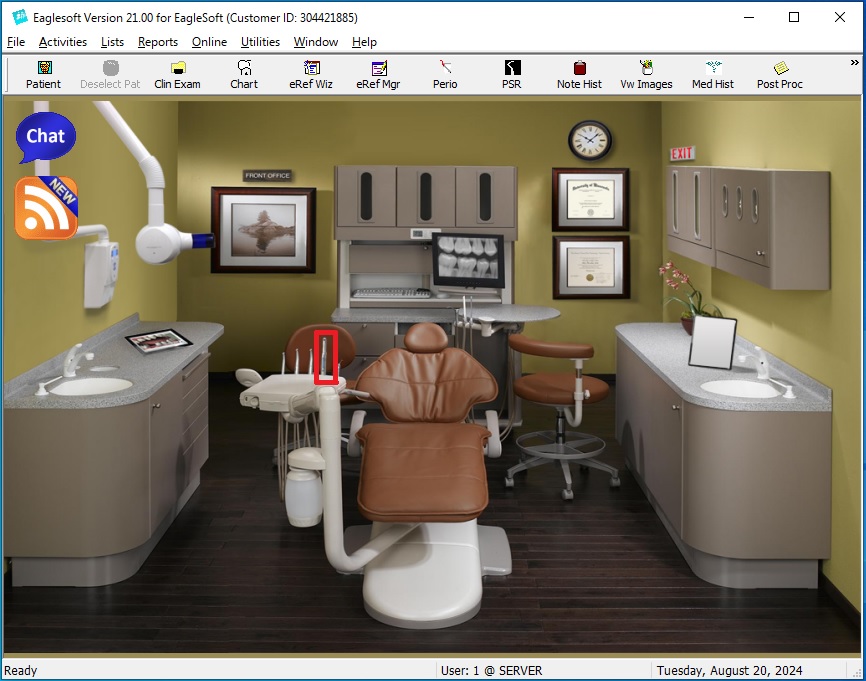
5. Click on the intraoral camera to the right of the Red Chair. I have drawn a square box around it. This brings up the intraoral camera for Eaglesoft. If it asks you to select a patient, go ahead and choose a patient from the list.
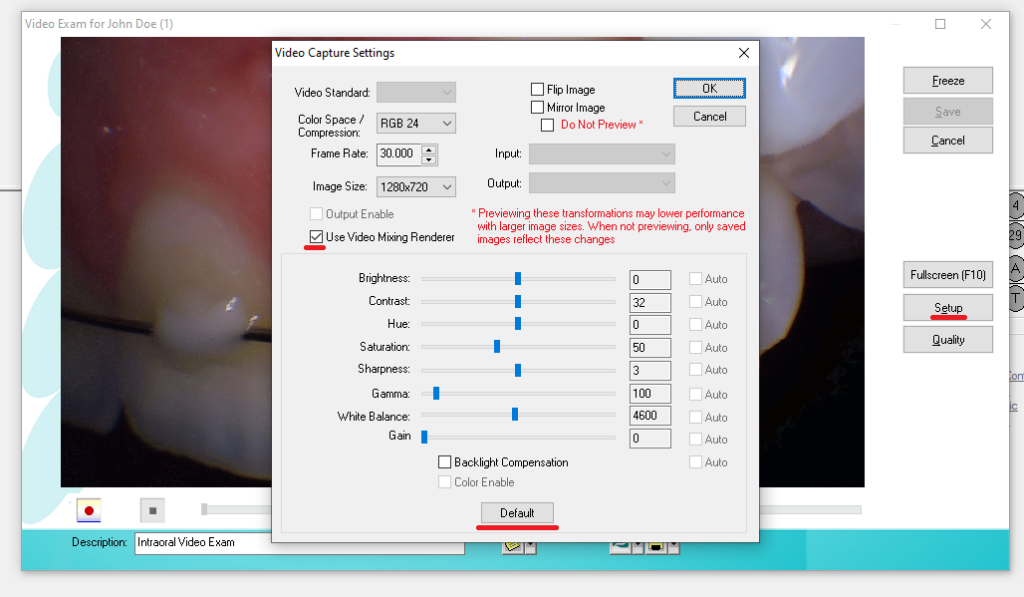
6. Click the Setup button to configure the camera. Click the Default button at the bottom to reset the image settings. If you cannot see a live camera image, this is due to Eaglesoft using VMR7 and Video card issues, not the camera itself. Uncheck the Use Video Mixing Renderer checkbox.
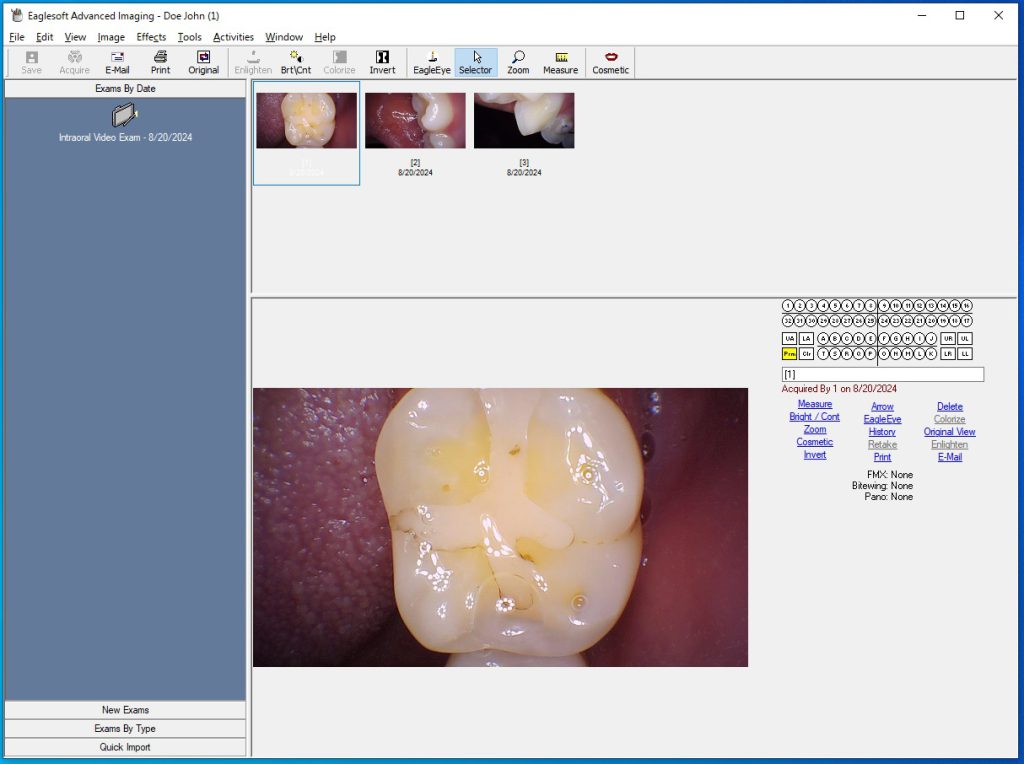
7. Now it is time to take some images! Use the capture button on your camera to take images, and every time you do, the Number will increase incrementally, letting you know that Eaglesoft has taken the image. Close the window when you are finished taking images and the images will be in Eaglesoft.