Perfect Cam Manual for Schick CDR 5
1. Be SURE you have installed the Schick USBCAM4 Driver before you begin; it is a requirement, even if you don’t have a Schick USBCAM 4 Camera. Download link: https://iocsnapshot.com/CDR USBCam4 Driver Setup.exe
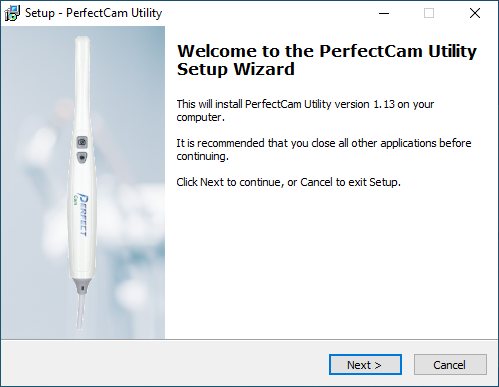
2. Install the PerfectCam Utility software. If you need a link for the download, it is:
https://iocsnapshot.com/PerfectCamSetup.exe
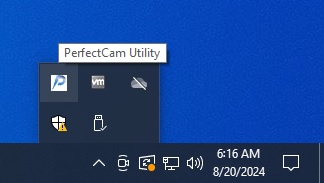
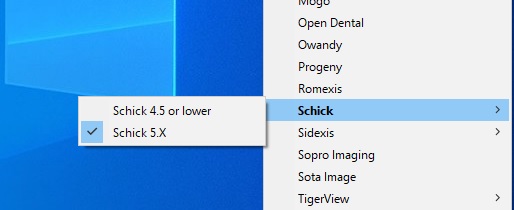
3. After the installation, you will see the PerfectCam icon in your system tray. Right-click it and select Schick CDR 5.X. Be SURE Schick CDR is closed for this next part. Right-click the PerfectCam icon in your system tray again and go to Options and select Install Schick CDR HD Modifications. This will enable 1280×720 resolution. The requirement for this is the Monitor must support 1920×1080.

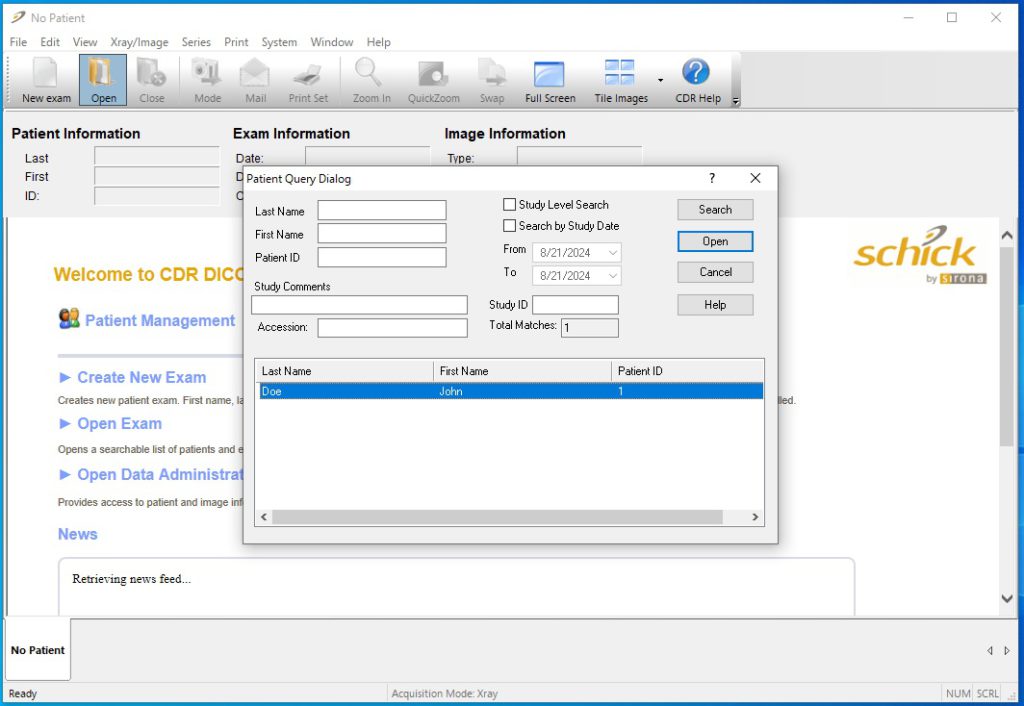
4. Run Schick CDR. Click on Open Exam, search for a patient, and then click the Open Button.
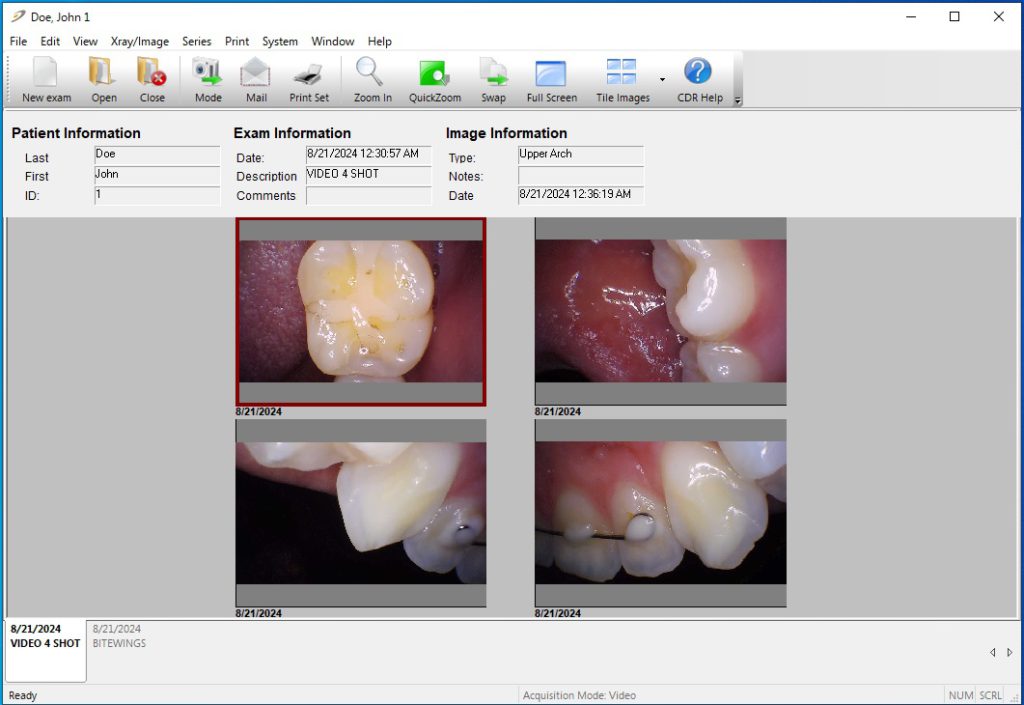
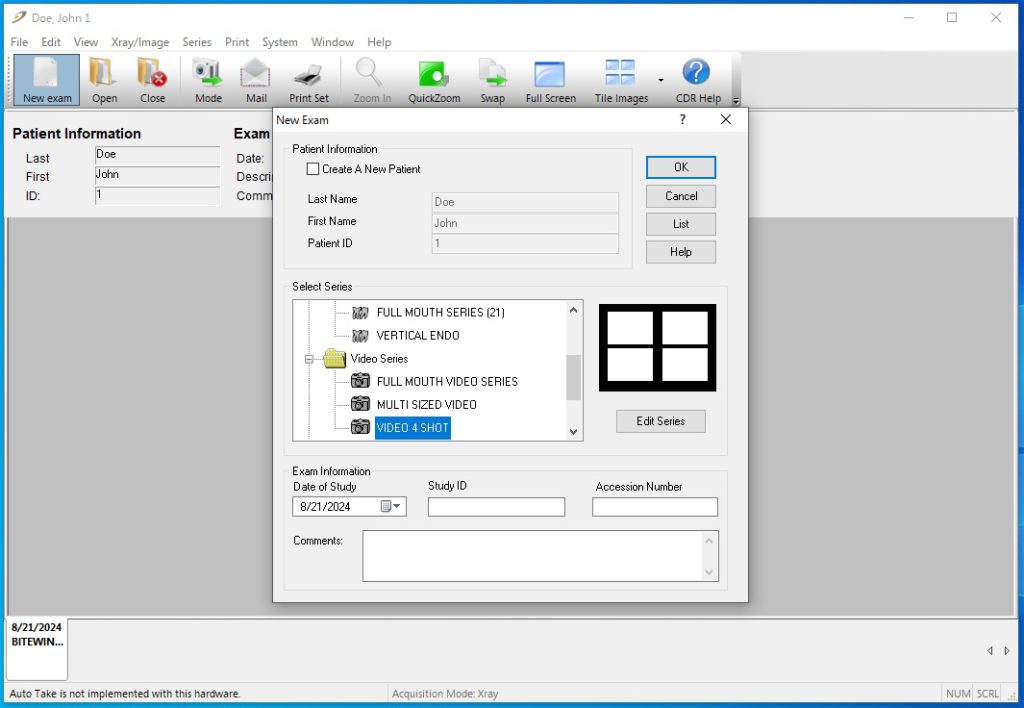
5. Click on New Exam to bring up the New Exam window. Scroll down to Video Series and select an exam type. In this case, I chose VIDEO 4 SHOT. Click the OK button.
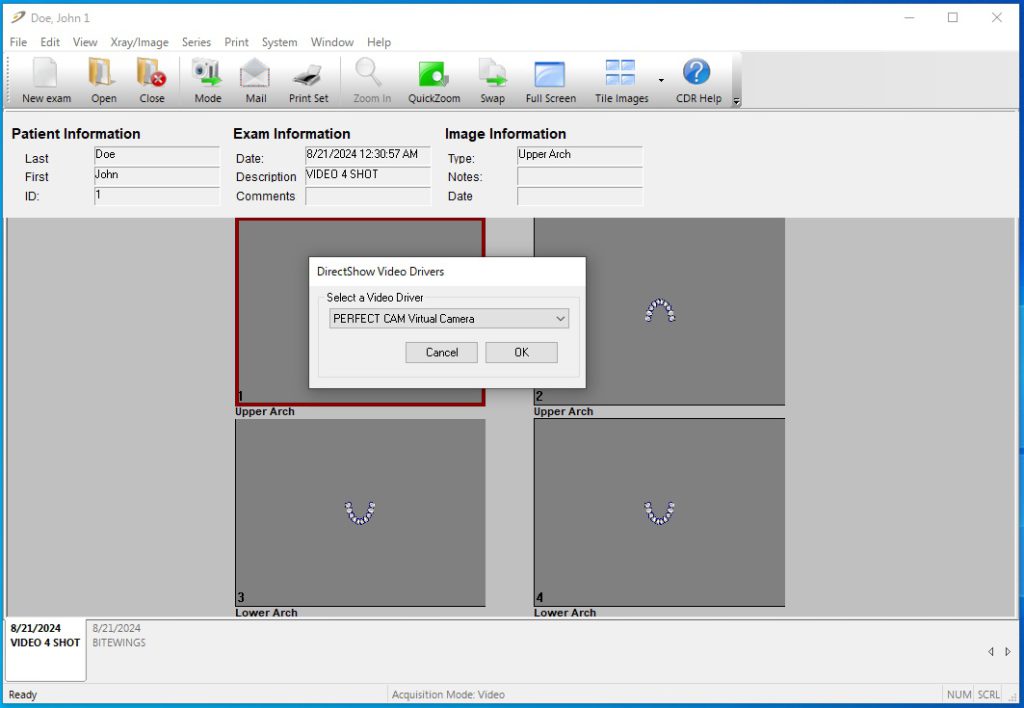
6. Double-click the first Tile, in this case, Upper Arch. If you haven’t used a camera with Schick CDR before, a window will appear asking you to select a camera. Choose the name of your camera; in this case, the camera name is PERFECT CAM Virtual Camera. If you see some errors, click okay. As this is a one-time process, it won’t tell you about these errors again.
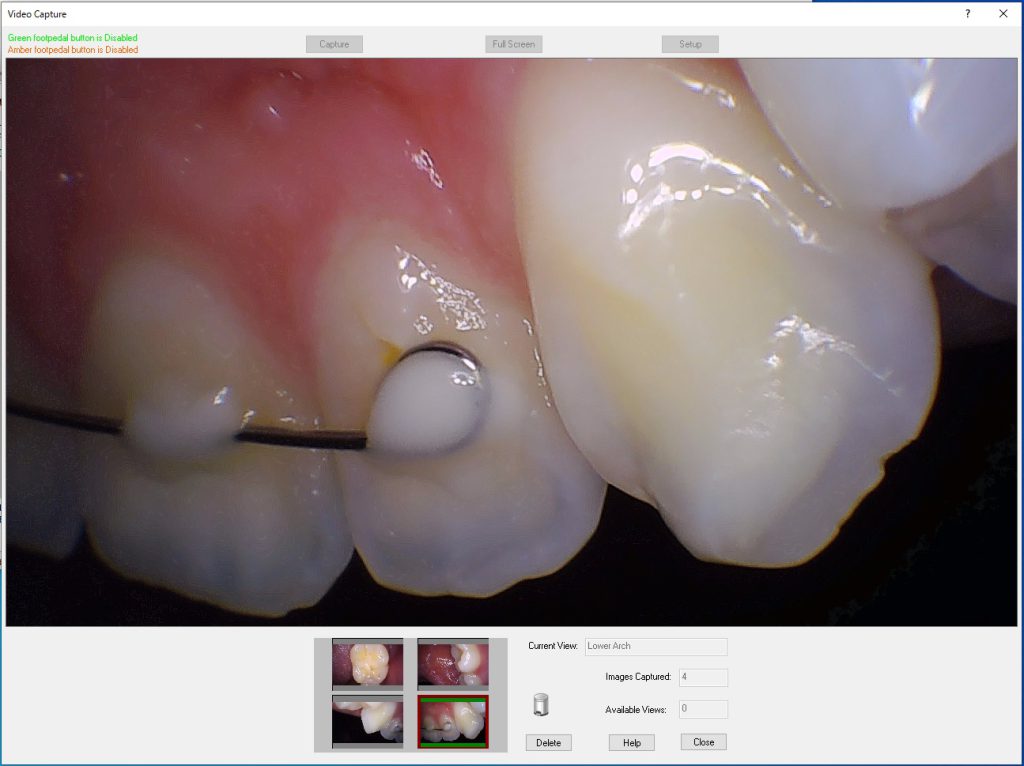
7. Time to shoot some images. Click the camera’s capture button to take pictures, and you will see each image fill in the tile for the VIDEO 4 SHOT Exam. When you’re finished shooting images, click the Close button.