Perfect Cam Manual for Open Dental Plugin
NOTE: The benefit of the plugin is you can easily create a mount. It also doesn’t require an Active Subscription with Open Dental to use.
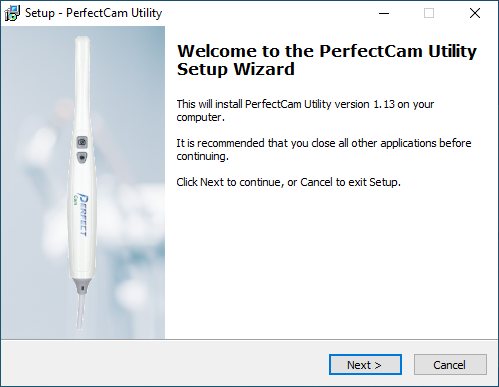
1. Install the PerfectCam Utility software. If you need a link for the download, it is:
https://iocsnapshot.com/PerfectCamSetup.exe
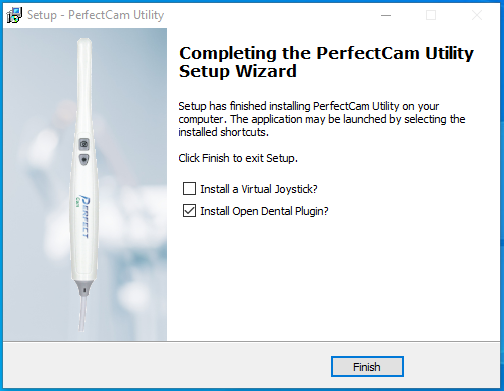
At the end of the installation, checkmark the box that says Install Open Dental Plugin.
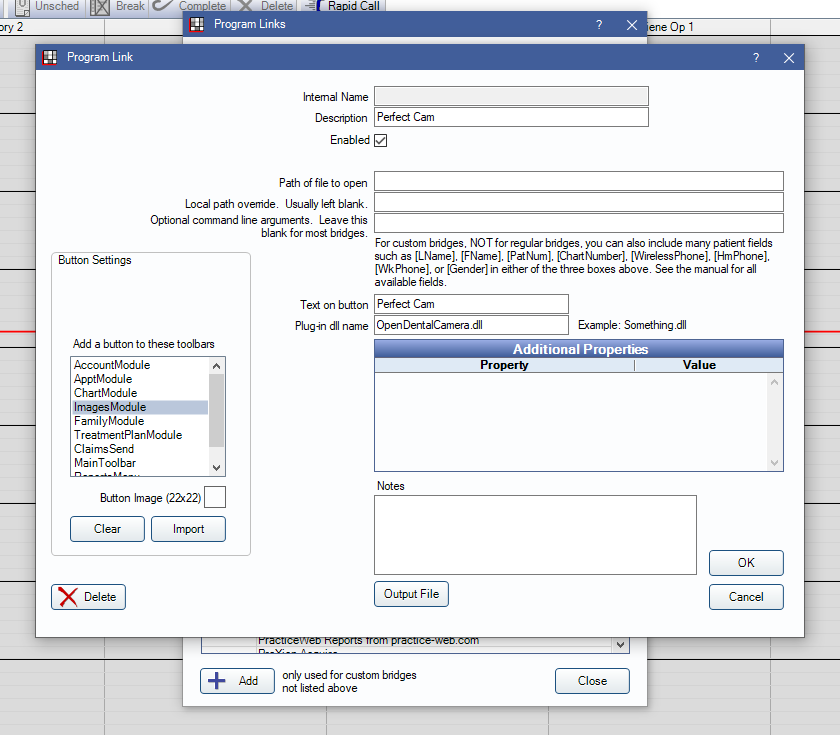
NOTE: If you are using the Middle Tier you will have to manually enable the Plugin inside of Open Dental. This is not per machine but globally and must be done one time. Inside of Open Dental go to Setup and Program Links.
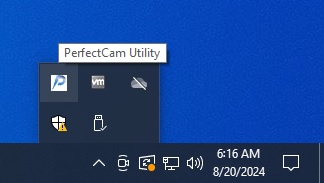
2. After the installation, you will see the PerfectCam icon in your system tray. Right-click it and select Open Dental.

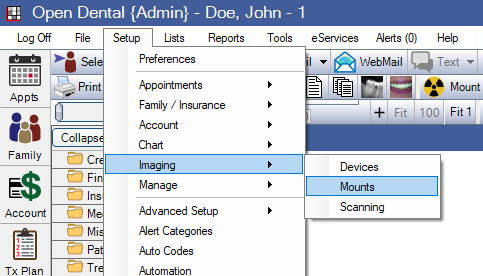
3. Inside Open Dental, select a patient and go to the Imaging Module. Go to Setup, Imaging and then Mounts.
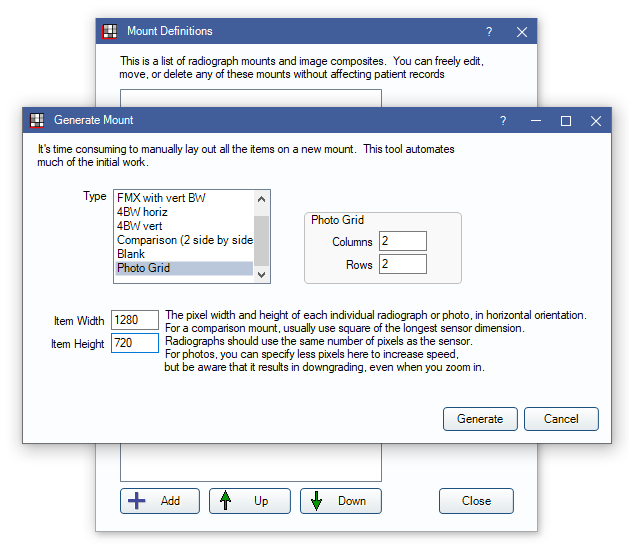
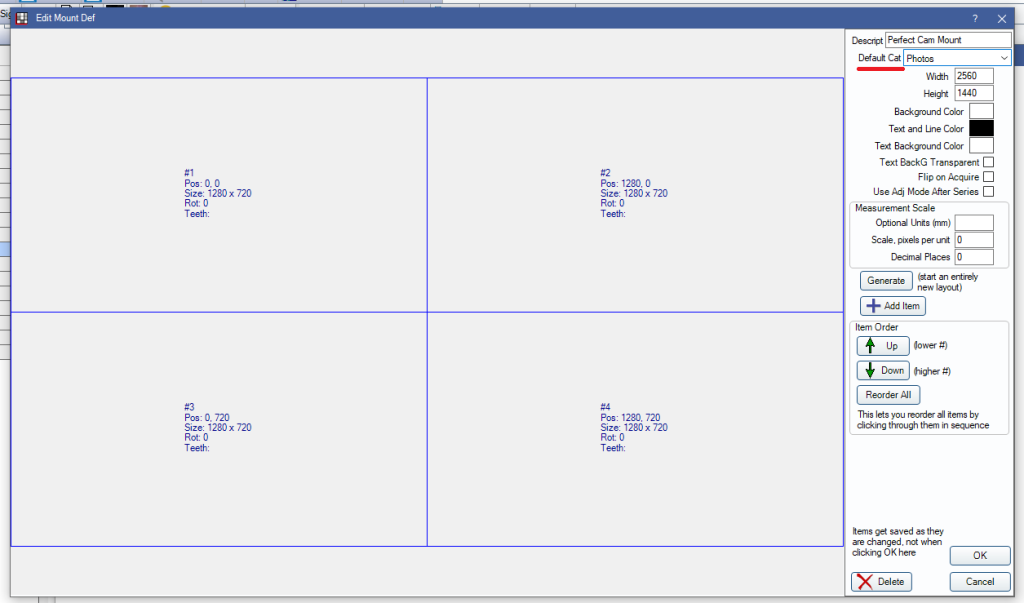
4. Click the Add button to generate a new Mount. Select Photo Grid and however many columns and rows you would like. Change the Item Width to 1280 and the Item Height to 720. Click Generate.
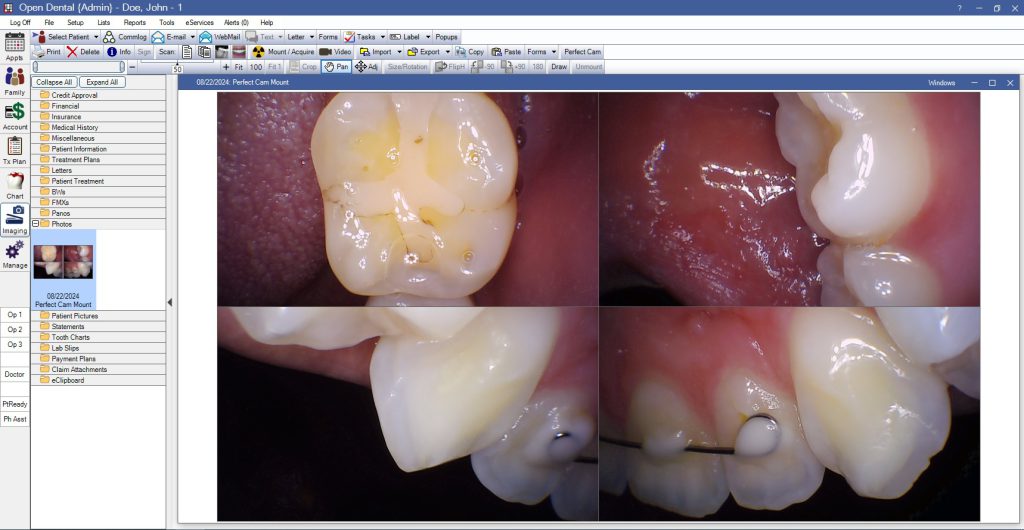
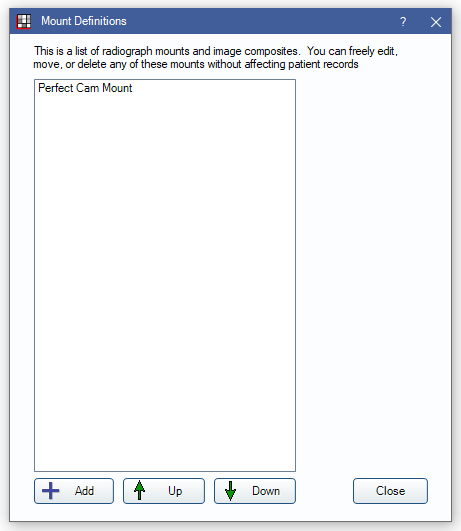
5. Give the mount a name, in this case I create the Perfect Cam Mount. The Default Category I choose is Photos. Click OK.
6. The mount is now created. Click Close.
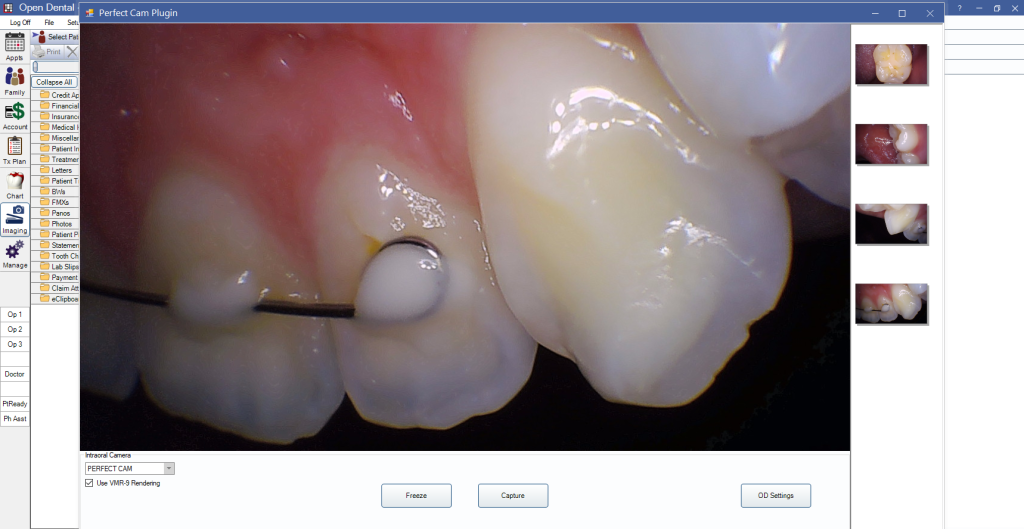
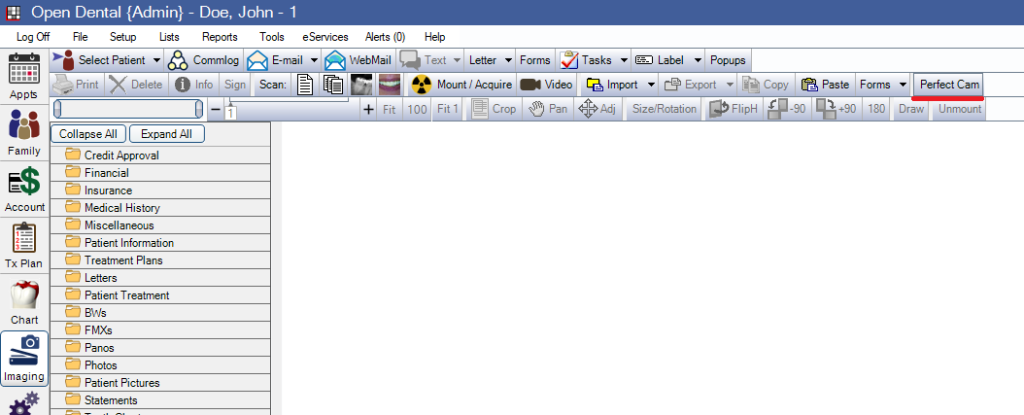
7. Launch the Perfect Cam plugin from the Open Dental Toolbar.
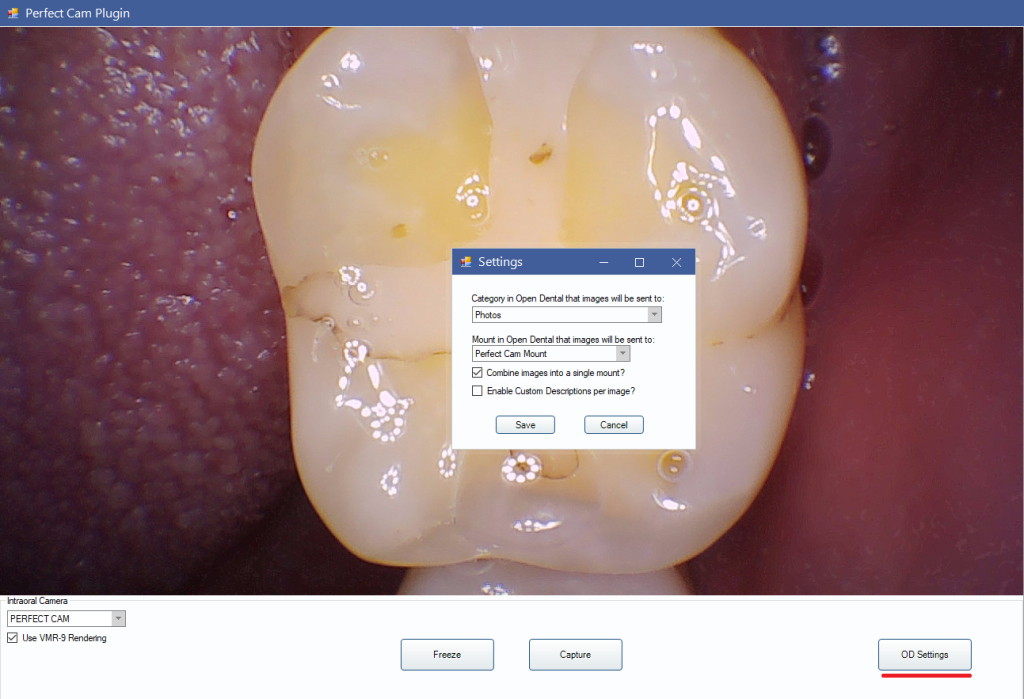
8. Click on the OD Settings Button to configure how you want the images saved. In this case, I will combine all images into a mount. Click Save.
9. Now you are ready to take images. Use the capture button on the camera to take images and close the window when you are finished. Expand the category and you will see the new mount you created.