Perfect Cam Manual for Open Dental Cloud
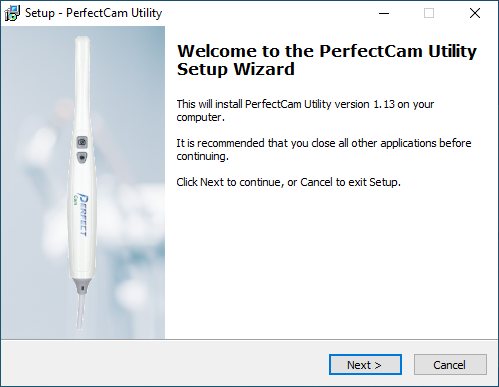
1. Install the PerfectCam Utility software on the workstation. If you need a link for the download, it is:
https://iocsnapshot.com/PerfectCamSetup.exe
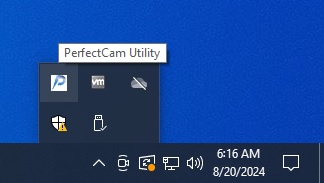
2. After the installation, you will see the PerfectCam icon in your system tray. Right-click it and select Open Dental.

3. Inside Open Dental, select a patient and go to the Imaging Module. Go to Setup, Imaging and then Mounts.
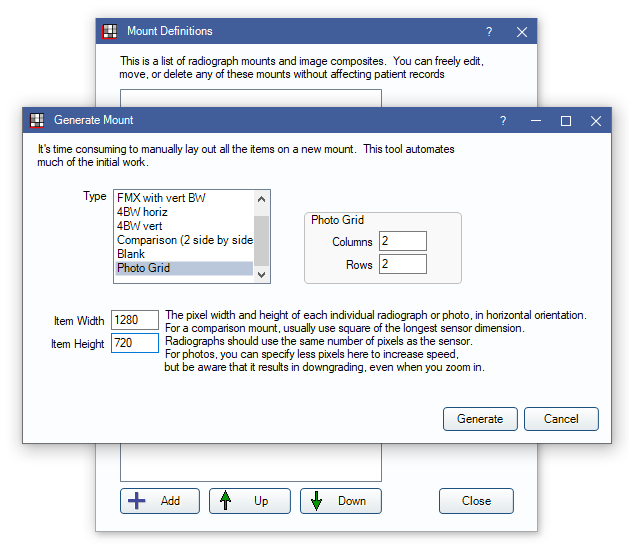
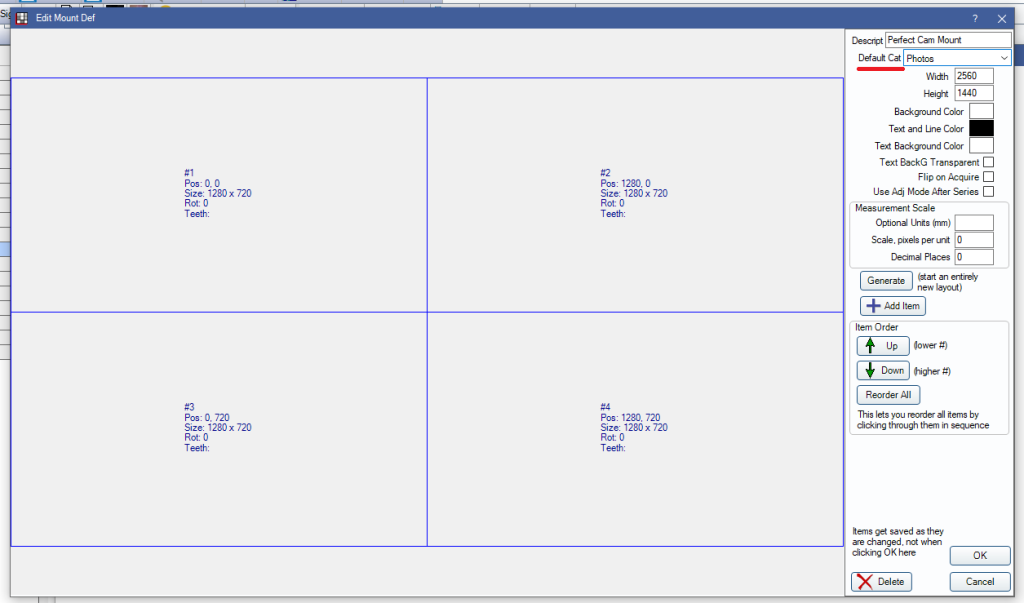
4. Click the Add button to generate a new Mount. Select Photo Grid and however many columns and rows you would like. Change the Item Width to 1280 and the Item Height to 720. Click Generate.
5. Give the mount a name, in this case I create the Perfect Cam Mount. The Default Category I choose is Photos. Click OK.
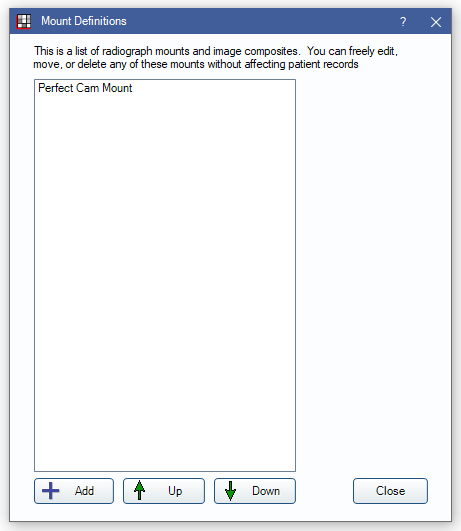
6. The mount is now created. Click Close.
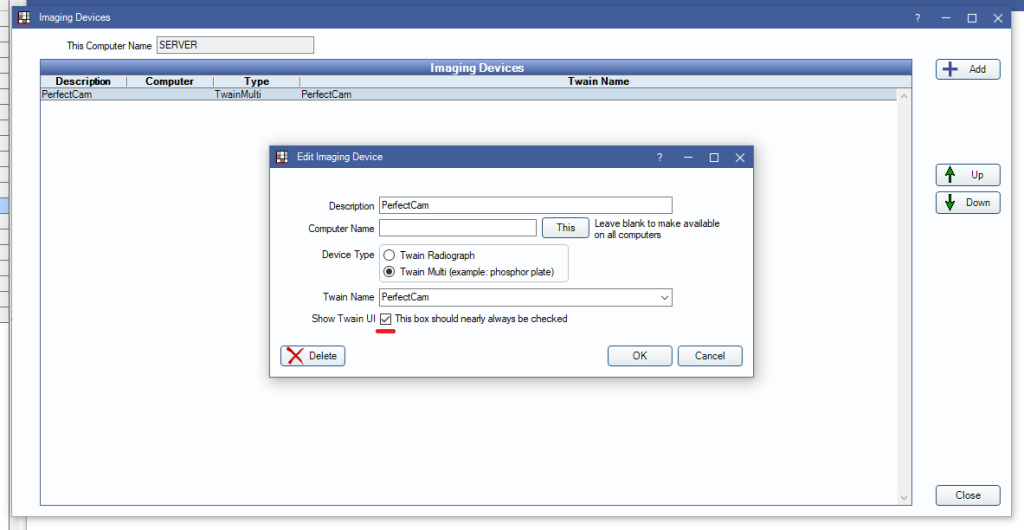
7. Go to Setup, Imaging and then Devices. Click the Add button and create a new device. The description should be PerfectCam and the Twain Name should be PerfectCam. Checkmark the box to Show Twain UI. Click OK and then Click Close.
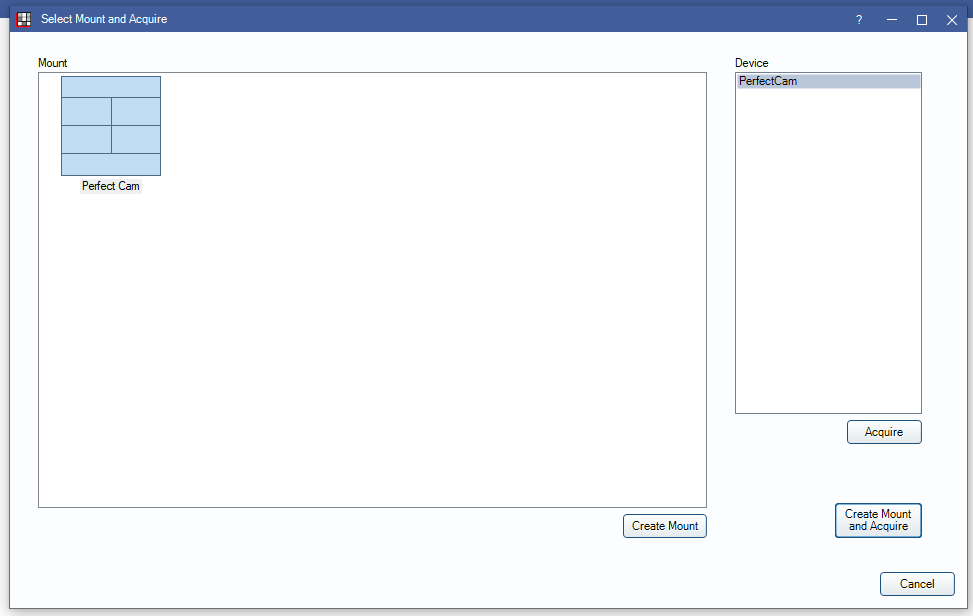
8. Click the Mount\Acquire button in the toolbar.
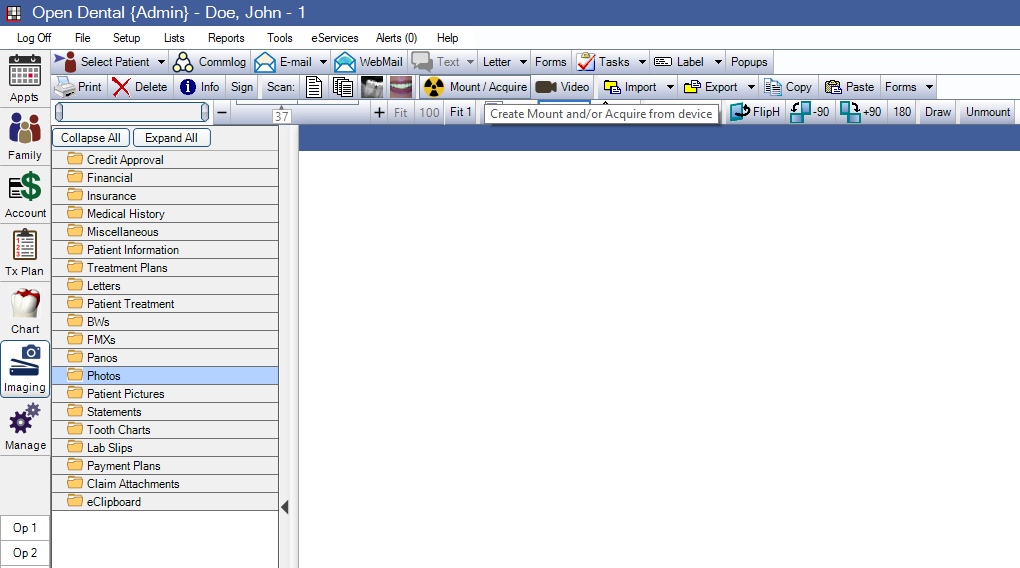
9. Select the Perfect Cam Mount and then select PerfectCam under the Device. Click the Create Mount and Acquire Button.
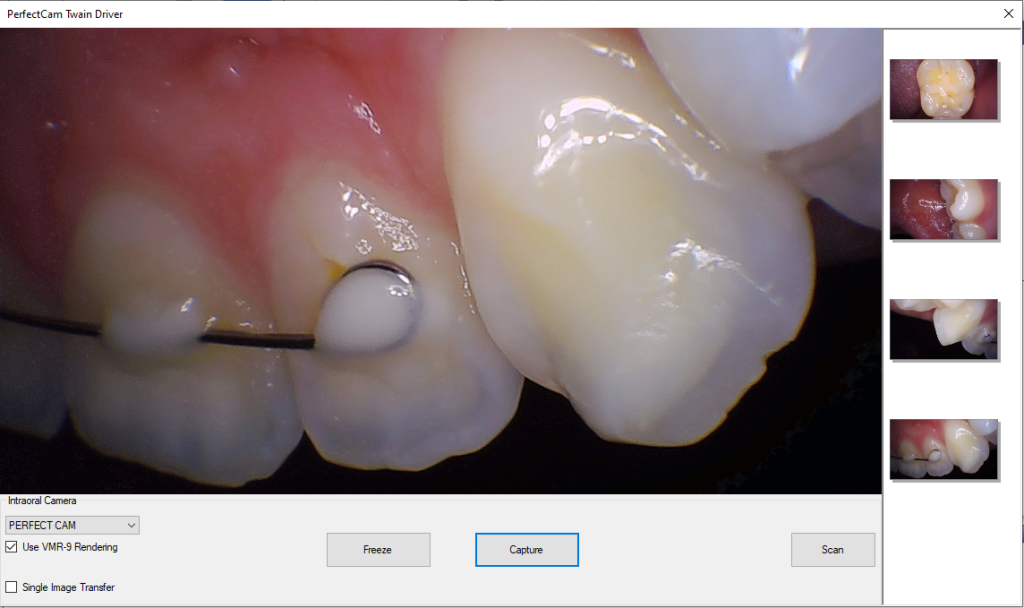
10. Use the capture button on the camera to take images. When you are finished click the Scan button. After the images are uploaded you may close the window.