Dentrix Image
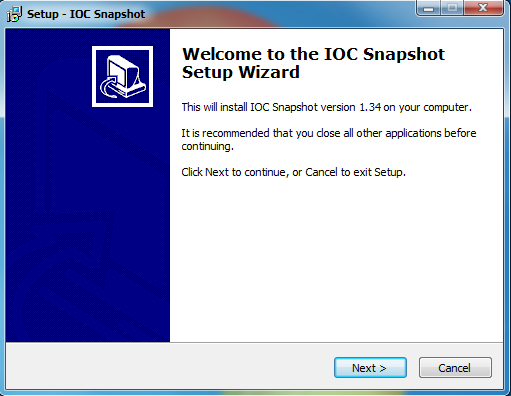
1. Install the IOC Snapshot software. If you need a link for the download it is:
http://www.iocsnapshot.com/IOC_Snapshot.exe
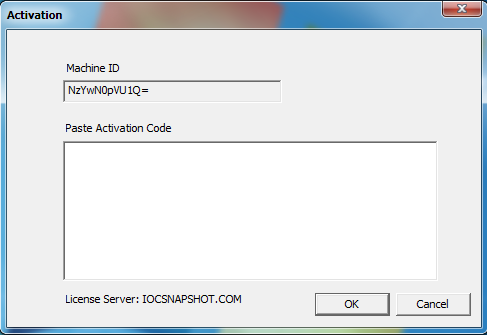
Enter in the license key when you see this window. If you would like to use a trial key, this one is good for 2 weeks.
FgKgAaQGdfufAtQBDgABARQ6EjbSfoG2H9yeiyQaNZAc3R0SWbzUbWSIWxFz7yDoZnwqN3yplLa9suVyGuVesw==
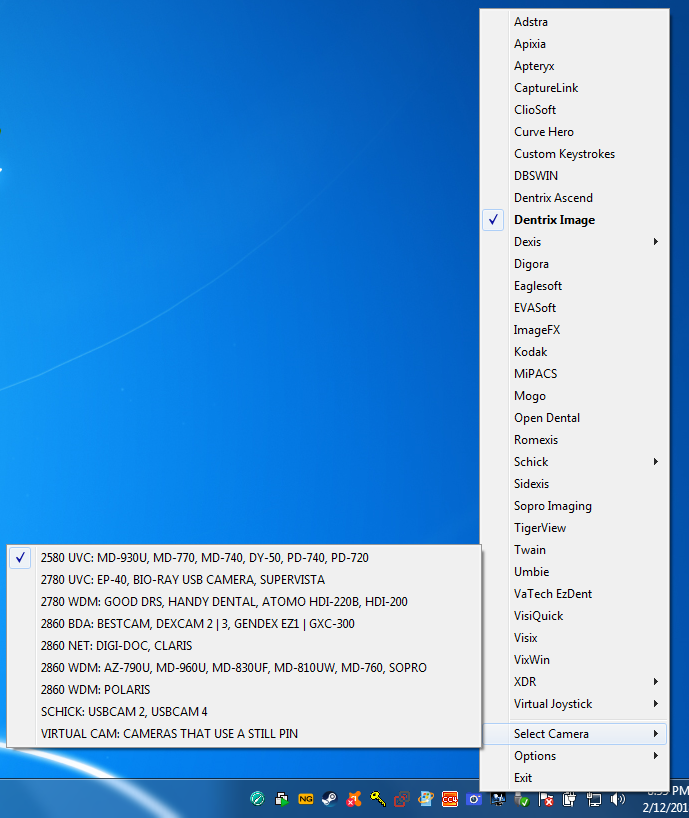
2. After the installation you will see a blue camera icon in your system tray, right click it and select Dentrix Image in the list of programs. Right click the blue camera again and go to Select Camera, and choose the camera you want to work with. The checkmark boxes should look similar to this:
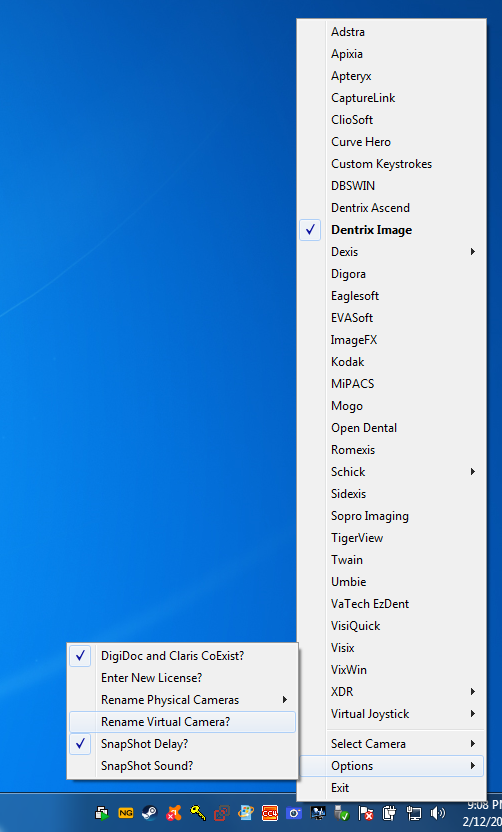
3. Now set the name of the Virtual Camera. Right click the Blue Camera in your system tray, go to Options, and left click on Virtual Camera Name.
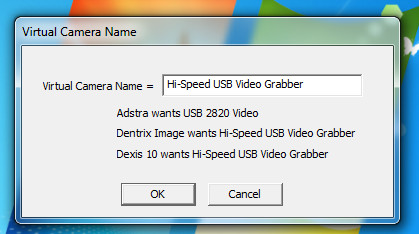
Set the name of the Virtual Camera to Hi-Speed USB Video Grabber, and click the OK button.
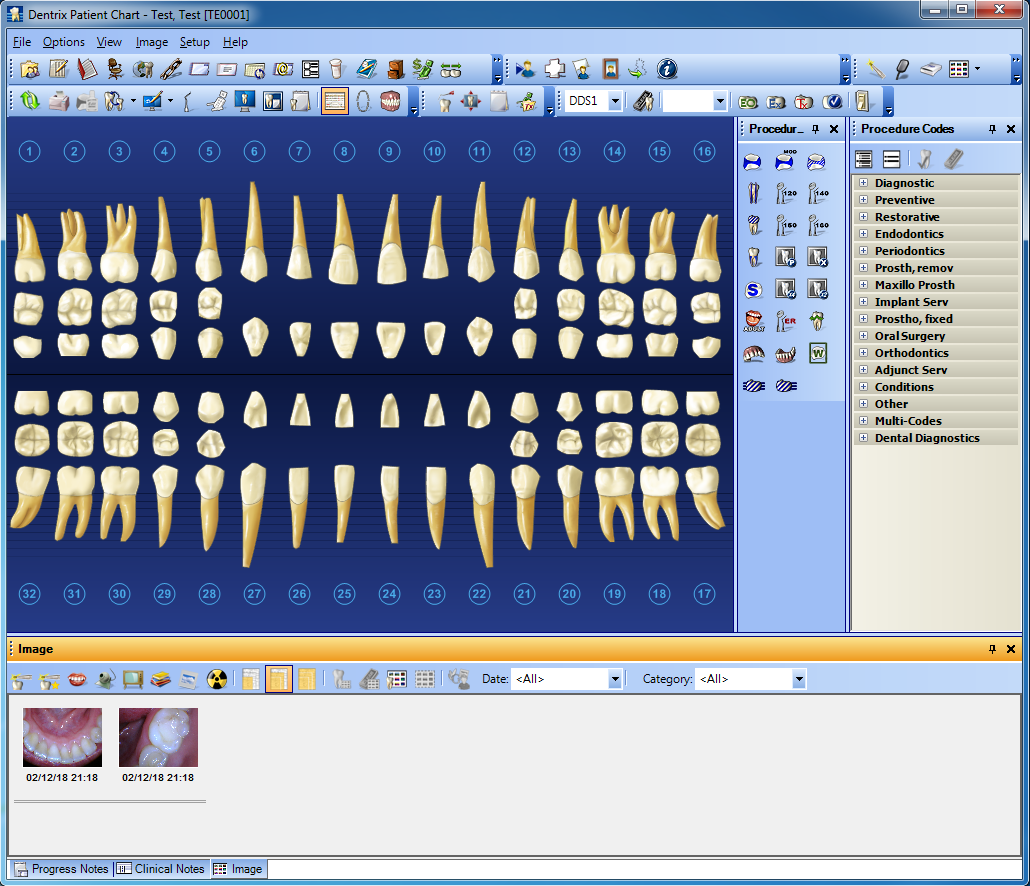
3. Run the Dentrix Chart and click on the IntraOral camera icon to run Dentrix Image:

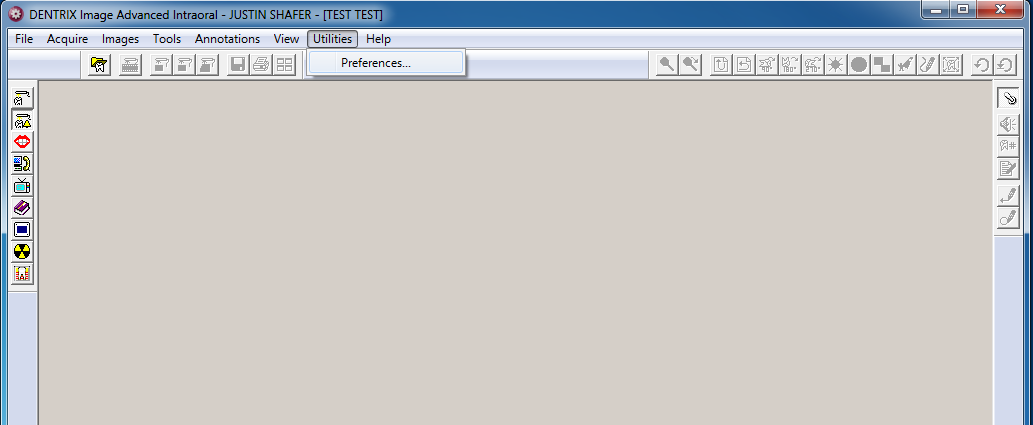
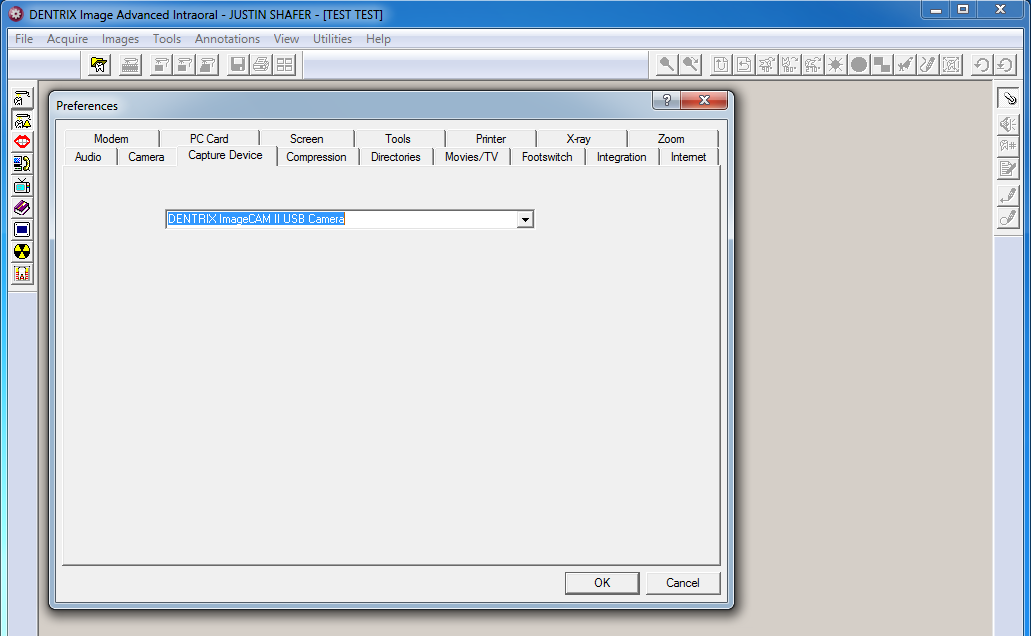
4. Now click on Utilities and Preferences in Dentrix Image
5. Click on the Capture Device tab and use the drop-down menu and select DENTRIX ImageCam II USB Camera and click the OK button.
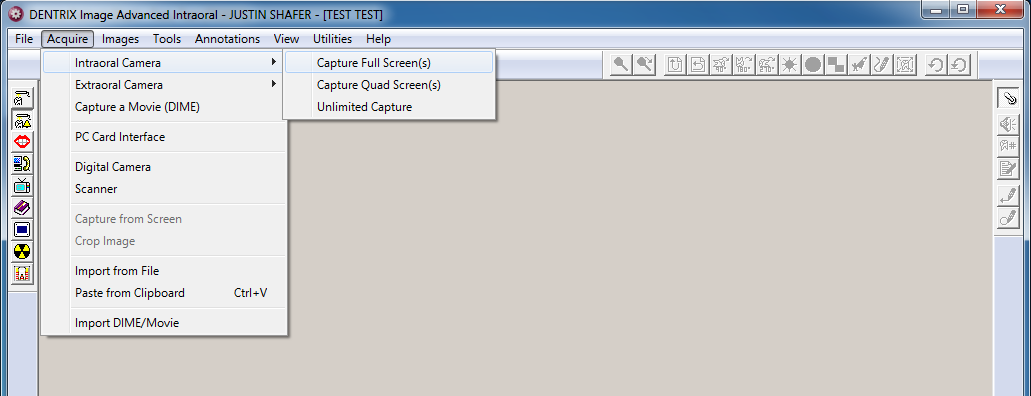
6. Now you are ready to use the camera. Either you can use the Dentrix Chart’s Intraoral Camera Icon to use the camera, OR you can click Acquire, Intraoral Camera, and click on Capture Full Screen since we are already inside of Dentrix Image.
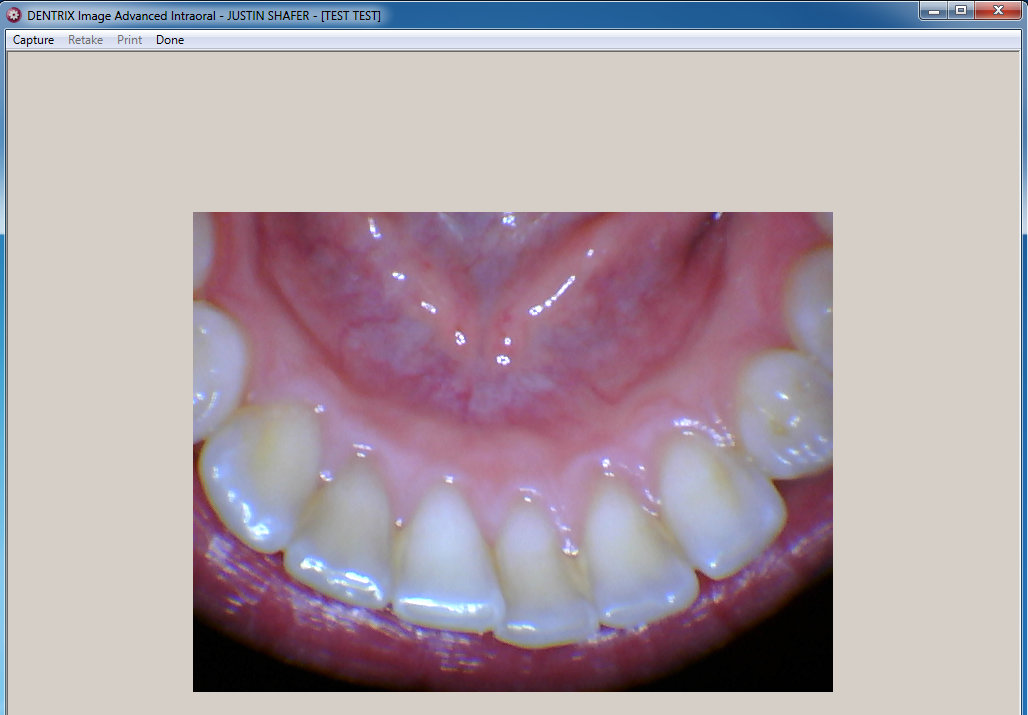
7. Now you may take images with the camera’s capture button. Each time you click the capture button on the camera, an image will be saved into Dentrix Image. Click on Done when you are finished.
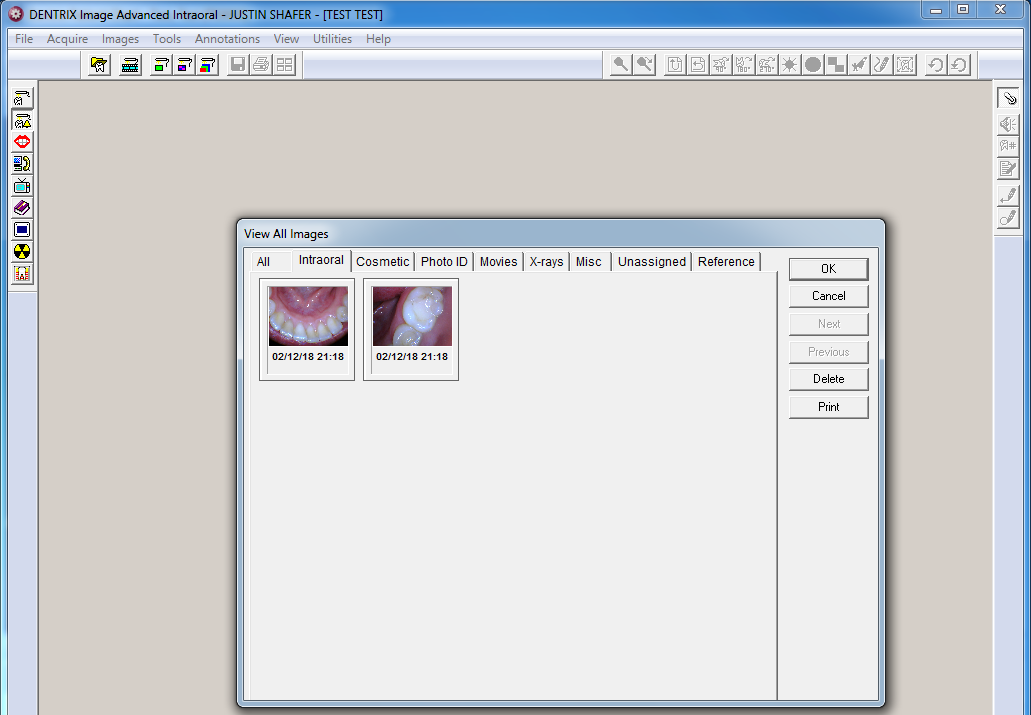
8. The images are now saved into Dentrix Image, and accessible from the Dentrix Chart.
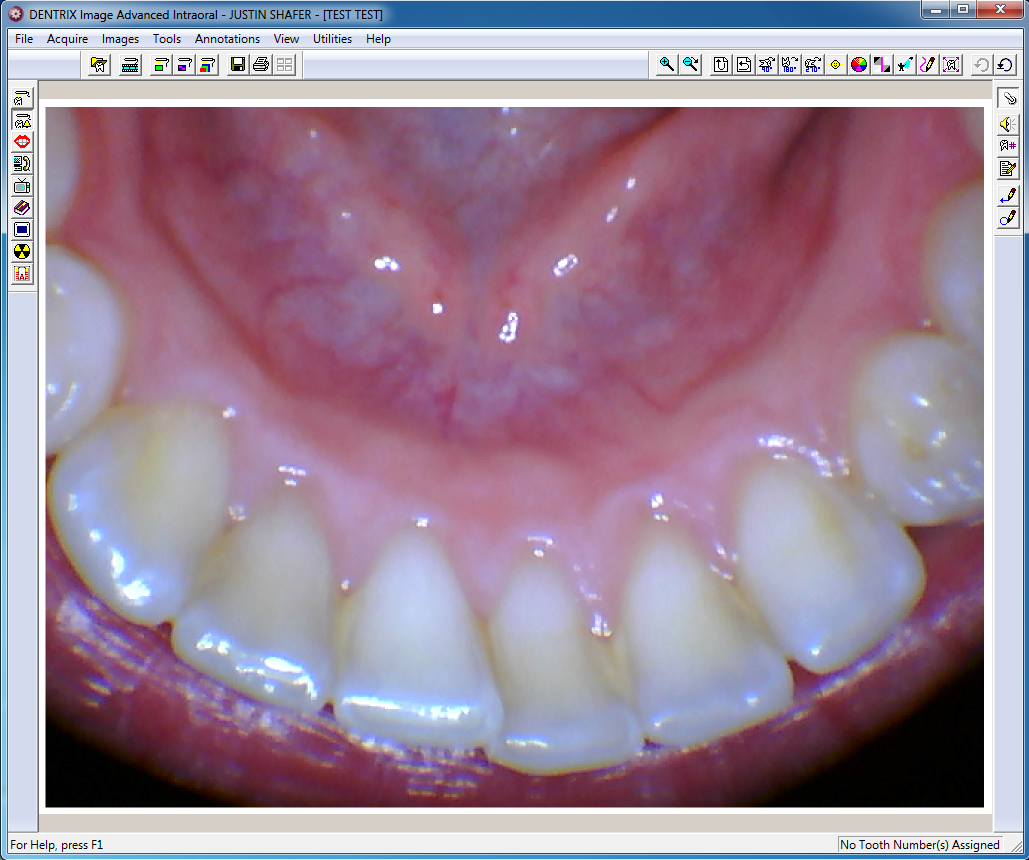
Click on Images and View All Images to verify.