Dexis 9
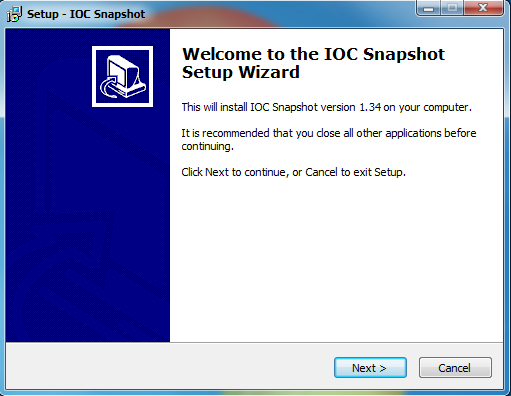
1. Install the IOC Snapshot software. If you need a link for the download it is:
http://www.iocsnapshot.com/IOC_Snapshot.exe
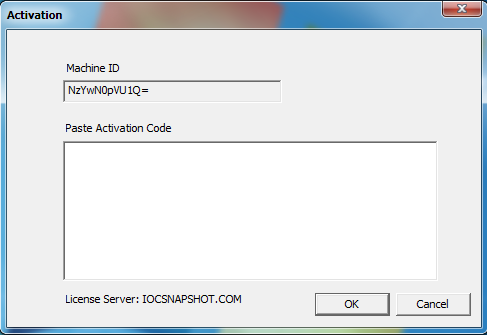
Enter in the license key when you see this window. If you would like to use a trial key, this one is good for 2 weeks.
FgKgAaQGdfufAtQBDgABARQ6EjbSfoG2H9yeiyQaNZAc3R0SWbzUbWSIWxFz7yDoZnwqN3yplLa9suVyGuVesw==
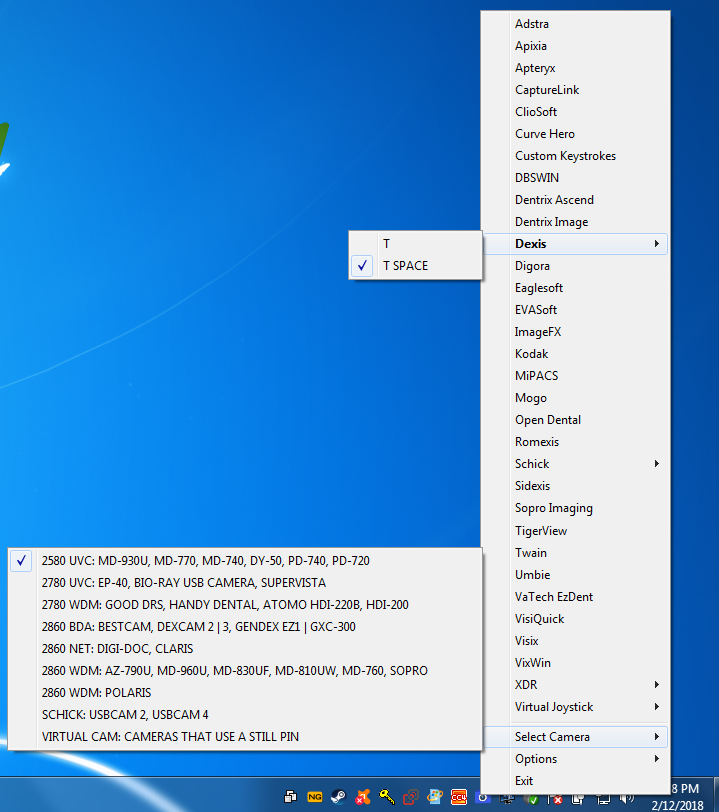
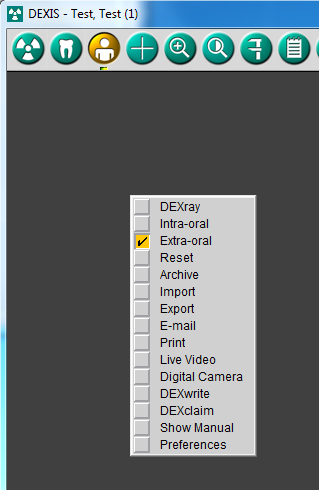
2. After the installation you will see a blue camera icon in your system tray, right click it and select Dexis and then T SPACE or T in the list of programs. More on this later. Right click the blue camera again and go to Select Camera, and choose the camera you want to work with. The checkmark boxes should look similar to this:
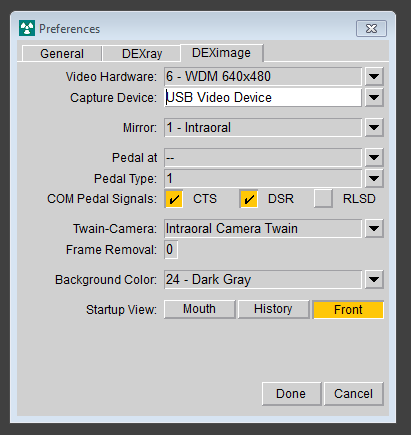
3. Run Dexis, open a patient, and set the camera preferences. Right click the gray area in Dexis, and select preferences. Then go to the DexImage tab and change Video Hardware to WDM 640×480 or what your camera’s resolution is. Then set your Capture Device, which is the name of your camera. You may also try the Virtual Camera that should be in the list of cameras. The Virtual Camera corrects a problem with Dexis 9 and camera’s that use MJPG. Most people don’t notice, but if Dexis 9 uses a camera that has MJPG then the colors look slightly splotchy.
*If you are using Dexis 9.45 or higher use the Virtual Camera as the Capture Device.
4. Now click the intraoral camera icon in Dexis.

This will bring up the Dexis Live Video Window. Click the capture button on your camera and see if Dexis takes an image.
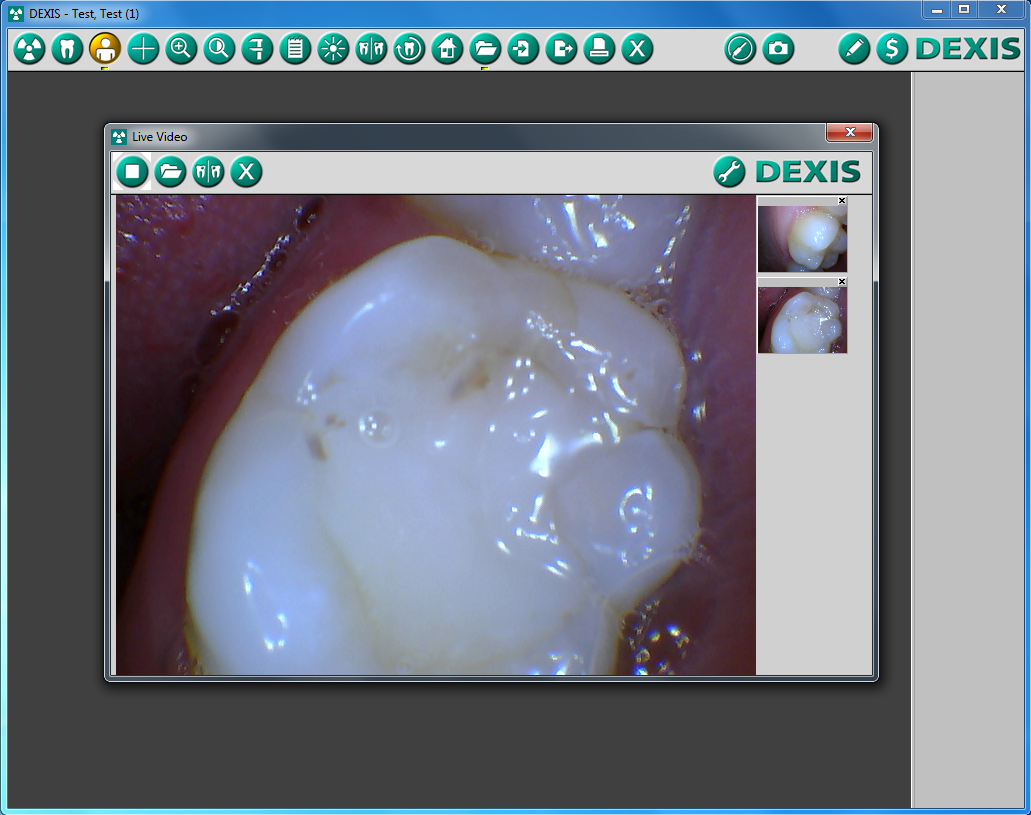
*If the Live Video screen is frozen after hitting the button on your camera, then right click the blue camera in the system tray and go to Dexis and change T SPACE to just T. Dexis 9 uses T or T and a Space keystroke depending on your type of camera. So some cameras need T while others need T and Space.
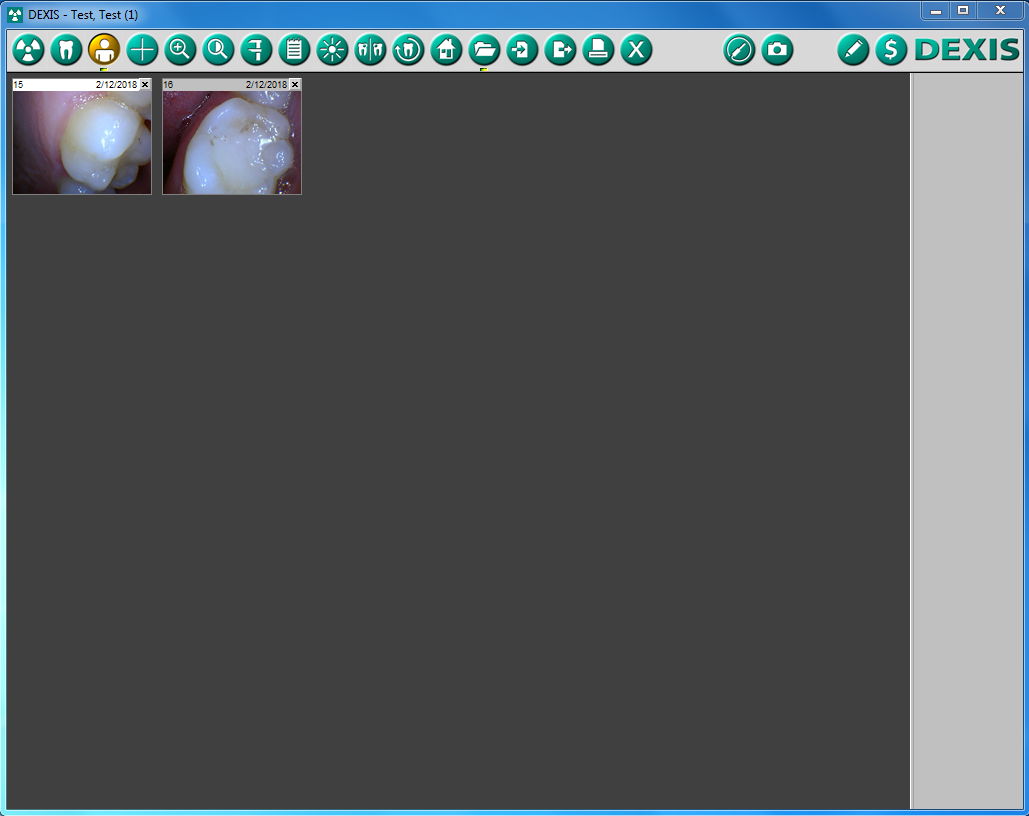
5. Close the Live Video window, and your images should be in Dexis.