Perfect Cam Manual for Carestream Imaging 6 & 7
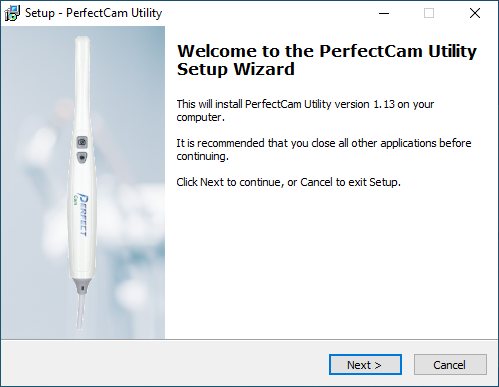
1. Install the PerfectCam Utility software. If you need a link for the download, it is:
https://iocsnapshot.com/PerfectCamSetup.exe
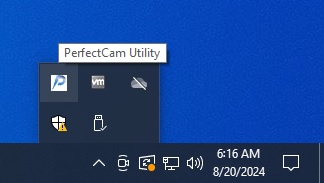
2. After the installation, you will see the PerfectCam icon in your system tray. Right-click it and select Carestream.

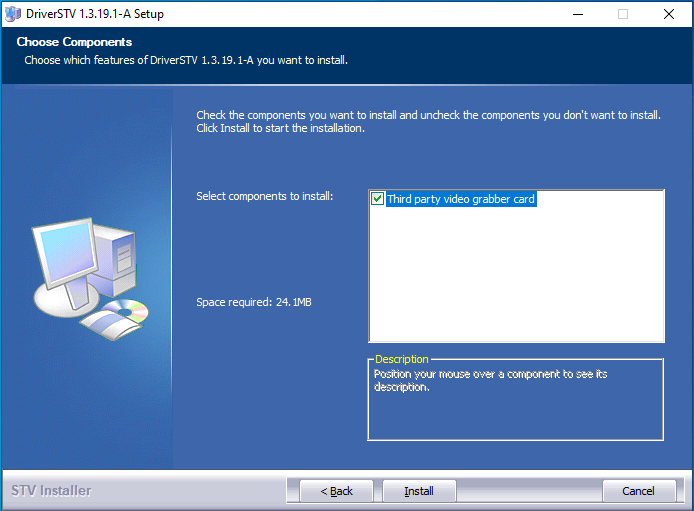
3. Install the STV Setup Program to enable third party cameras to work in Carestream\Kodak.
Older versions of Kodak below version 6.14 use this:
https://iocsnapshot.com/SetupSTV_1.exe
Newer versions of Carestream\Kodak version 6.14 use this:
https://iocsnapshot.com/SetupSTV_2.exe
Run the installation and check the box for Third Party Video Capture option.
4. Enable Carestream HD VideoSkin. Right-click the PerfectCam System Tray icon, go to Options and select Install Carestream HD VideoSkin. This requires the monitor to have 1920×1080 or higher.

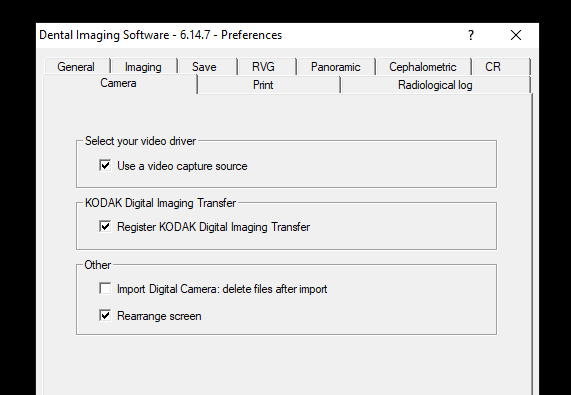
5. Run Kodak Digital Imaging or Carestream Imaging and open a patient. Go to Options and then Preferences. Go to the Camera tab and make sure these options are selected and then click OK. This only needs to be done one time.
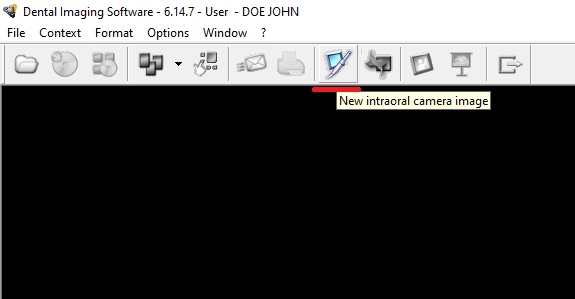
6. Click the Intraoral Icon in the toolbar to start taking images or press the capture button on the camera one time.
7. Click on the Gear icon and select PERFECT CAM Virtual Camera and click OK.

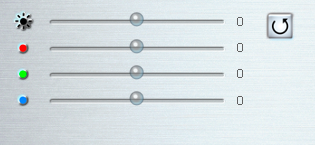
Be sure the color settings are centered. If they aren’t, click the reset button.
8. Press the capture button on the camera to start taking images. When you are finished, click the Leave icon.
