Perfect Cam Manual for Sota Cloud
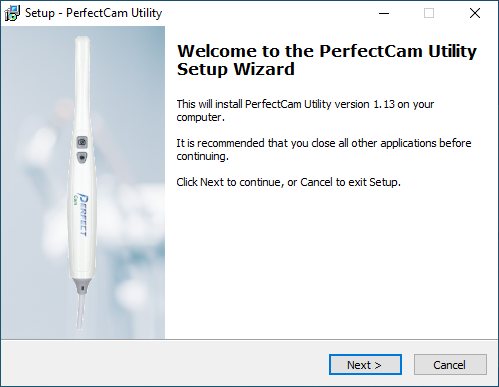
1. Install the PerfectCam Utility software. If you need a link for the download, it is:
https://iocsnapshot.com/PerfectCamSetup.exe
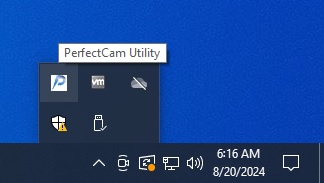
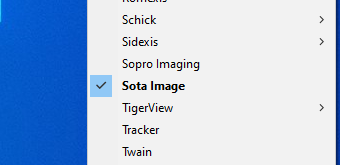
2. After the installation, you will see the PerfectCam icon in your system tray. Right-click it and select Sota Imaging.
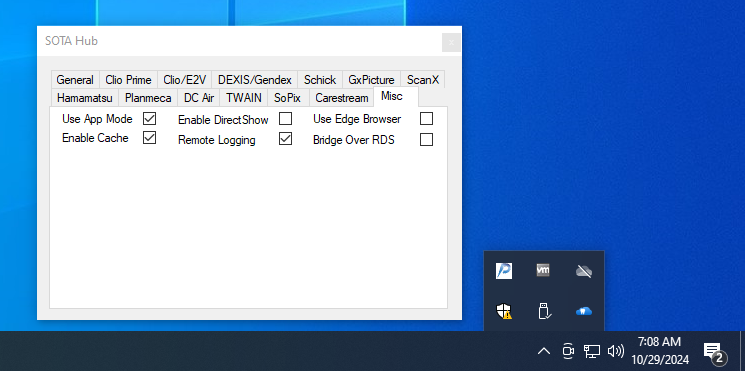
3. Disable DirectShow inside of SOTA Hub. Right-click the blue cloud with a tooth in the center to do this and go to Settings. This will bring up the SOTA Hub dialog menu. Go to the Misc tab and uncheck Enable DirectShow.
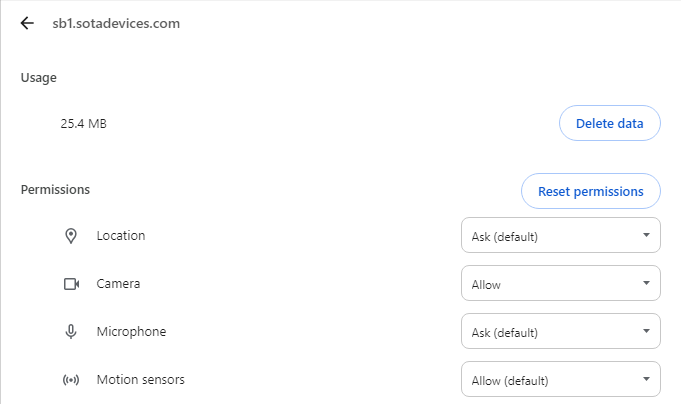
4. Allow the browser to use cameras. When logged into SOTA Cloud, click the Site Information icon in Google Chrome and go to Site settings.
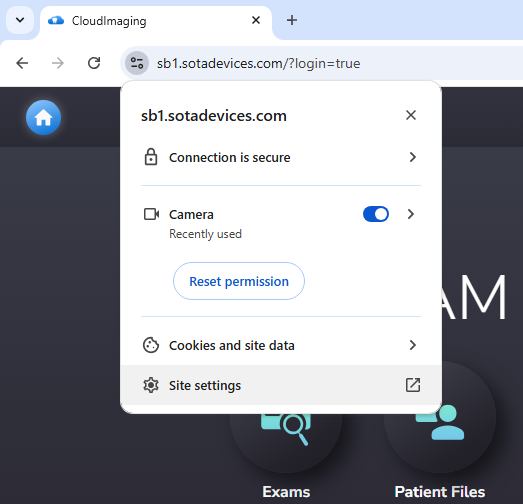
Be sure the Camera is set to Allow.
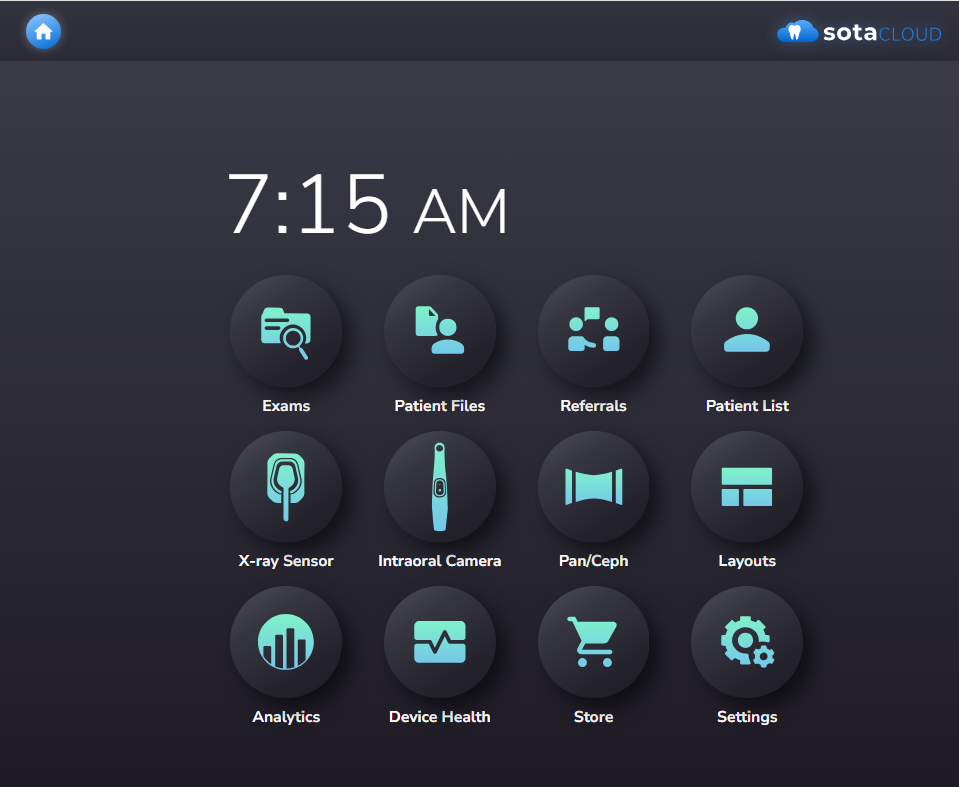
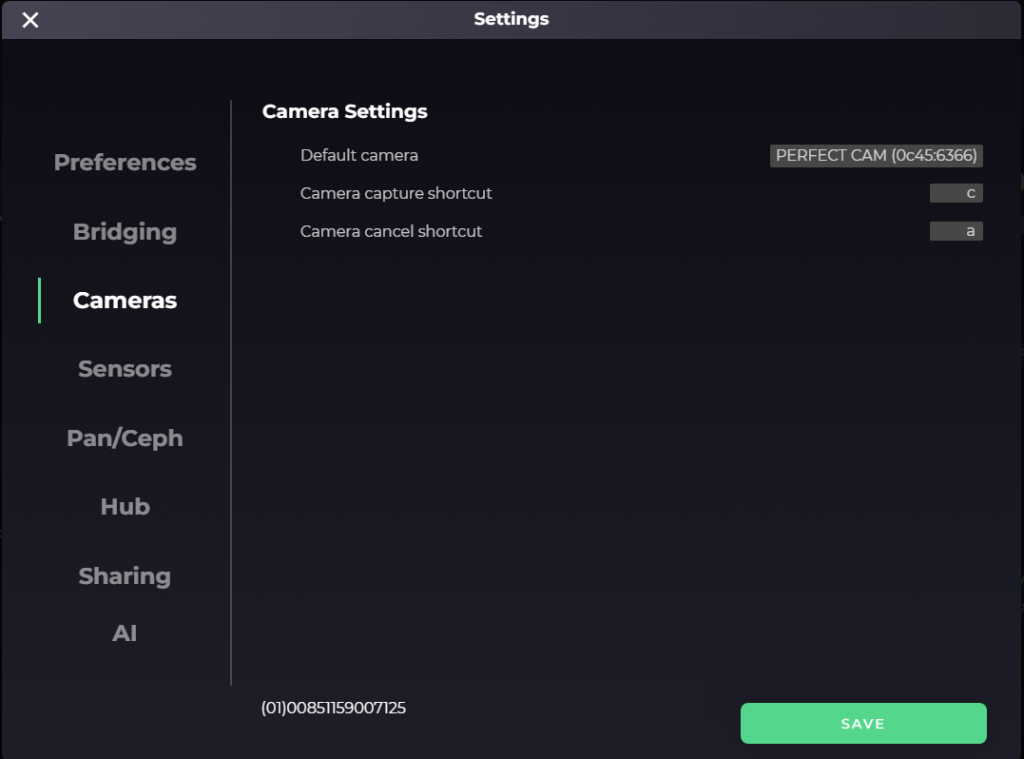
5. Optional step. Set the default Camera for Sota Cloud. Go to Settings
Go to Cameras and change the Default camera to PERFECT CAM (0c45:6366). Click Save.
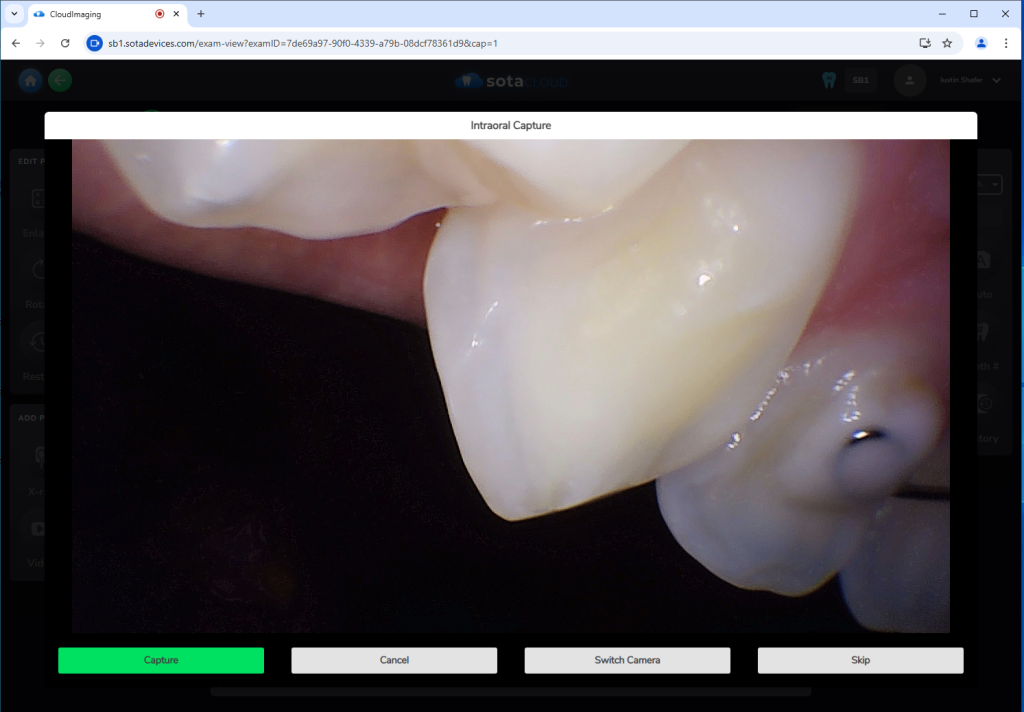
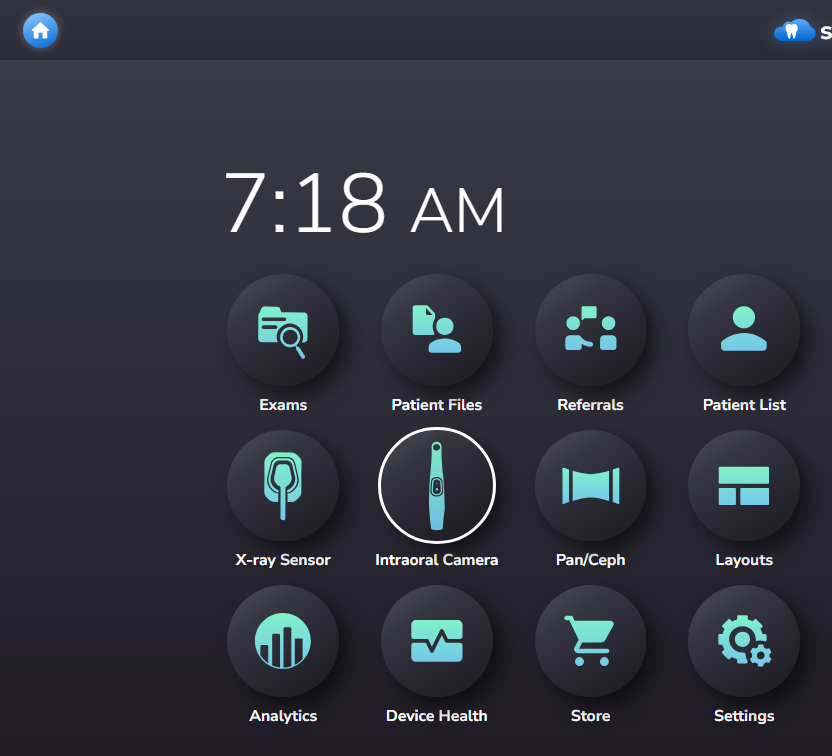
6. Now, let’s take some intraoral camera images. Select IntraOral Camera. If it asks to open a patient, please select one.
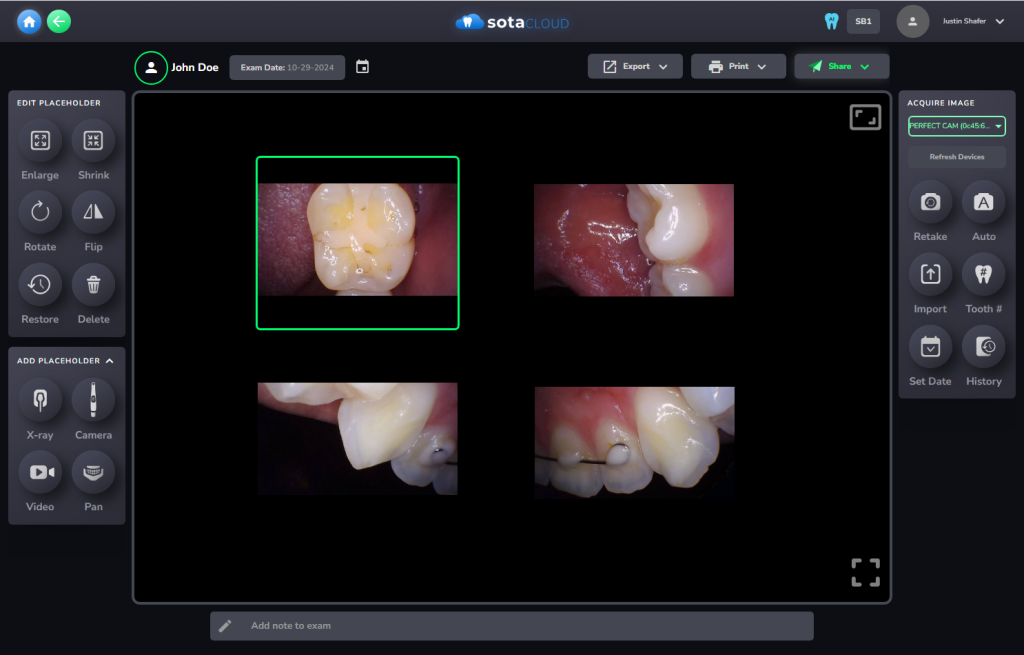
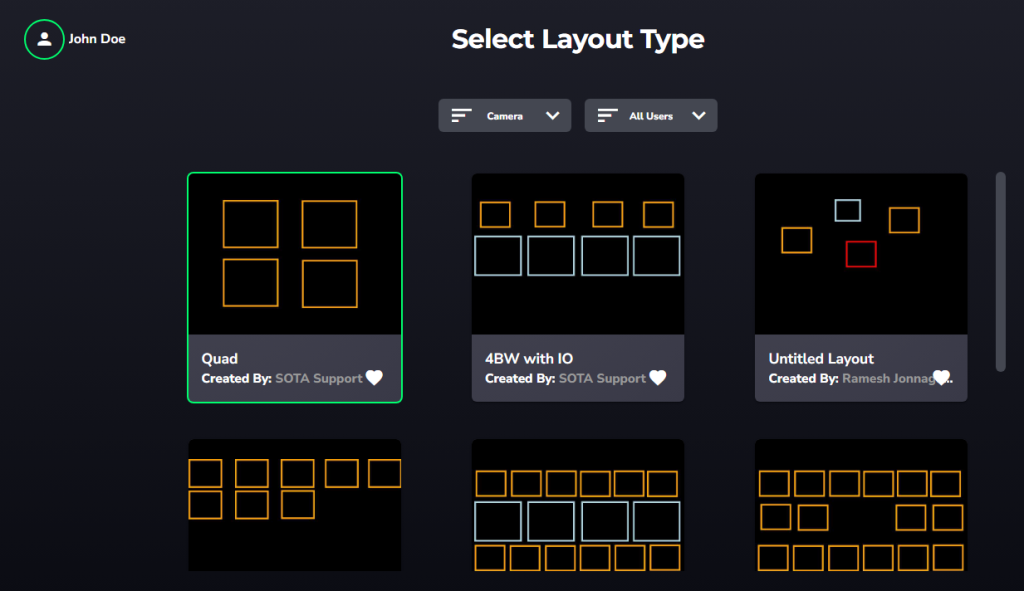
7. Now select a layout. I am going to choose a Quad.
8. Click on the first tile and then click the Auto button to the right.
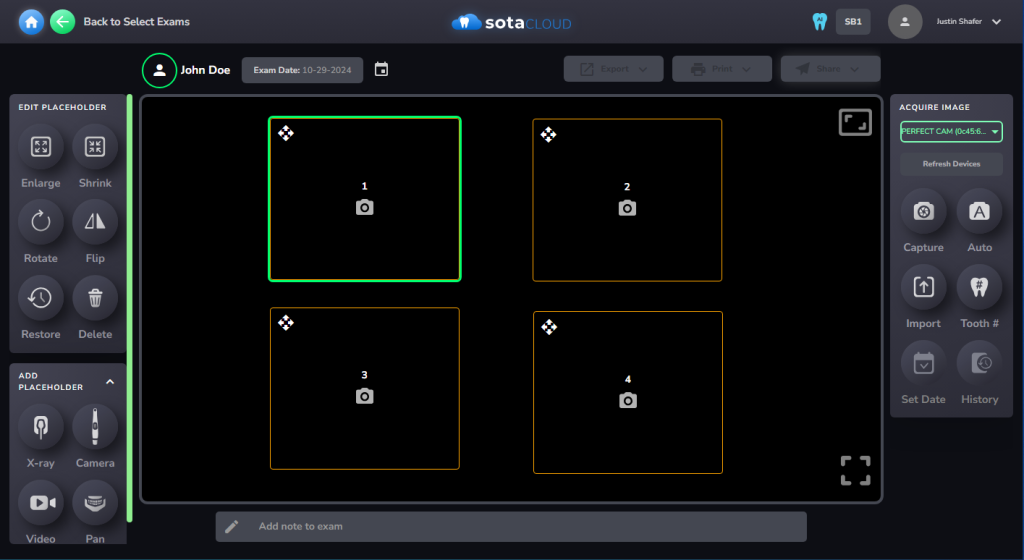
9. This will open the camera. Use the capture button on the camera to take four images. All done!