Sidexis XG
NOTE: I don’t recommend using this. The reason why is because Sidexis XG can only handle one image at a time. But I decided to write these instructions anyways.
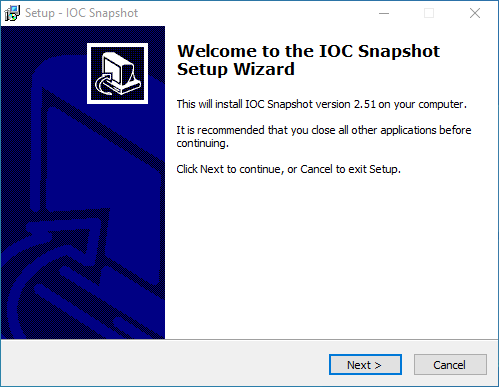
1. Install the IOC Snapshot software. If you need a link for the download it is:
https://iocsnapshot.com/IOC_Snapshot.exe
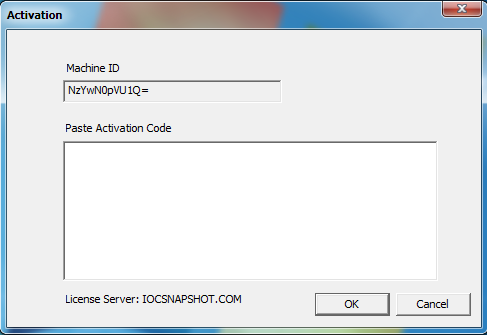
Enter in the license key when you see this window. If you would like to use a trial key, this one is good for 2 weeks.
846S-95GY-DWQ4-CU35-2YHD-H8VX-14C6-2UWZ
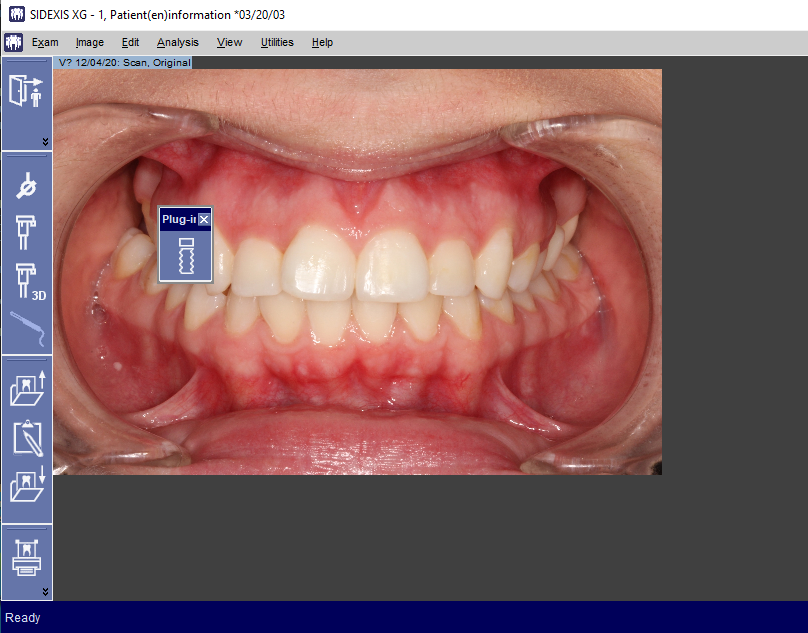
2. Open Sidexis XG with a patient. Go to Image in the Sidexis toolbar and click on Select scanner.
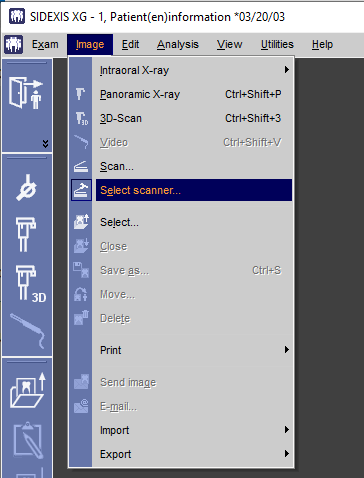
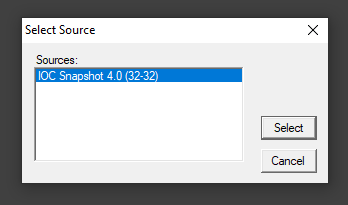
Click on IOC Snapshot in the list and click on the Select button.
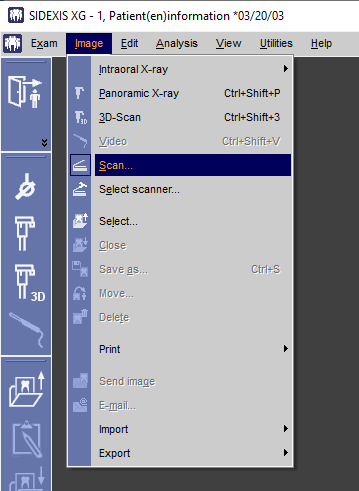
3. To acquire an image, click on Image in the Sidexis toolbar and then click on Scan.
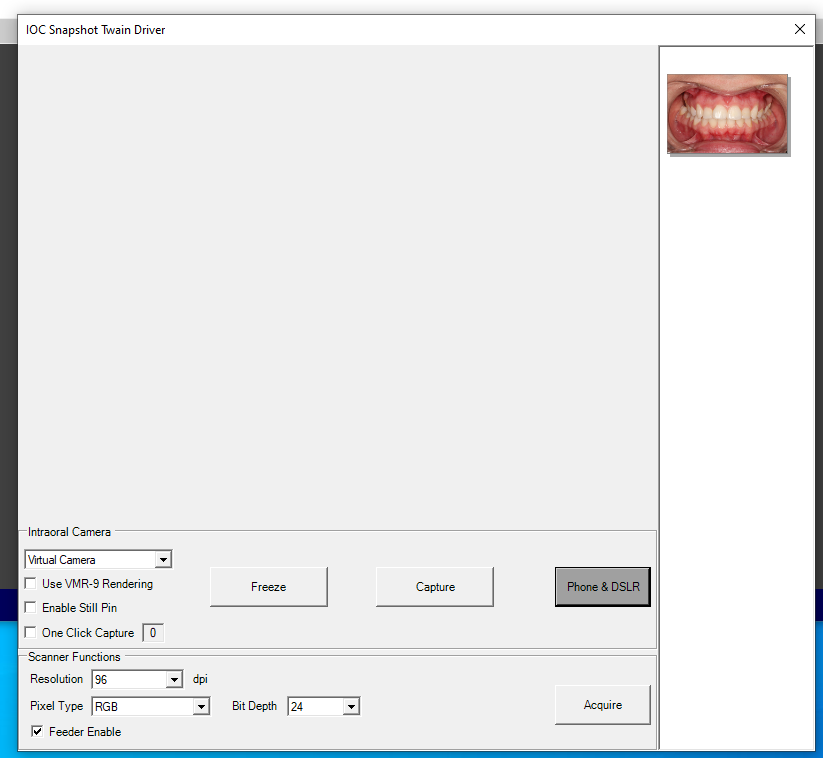
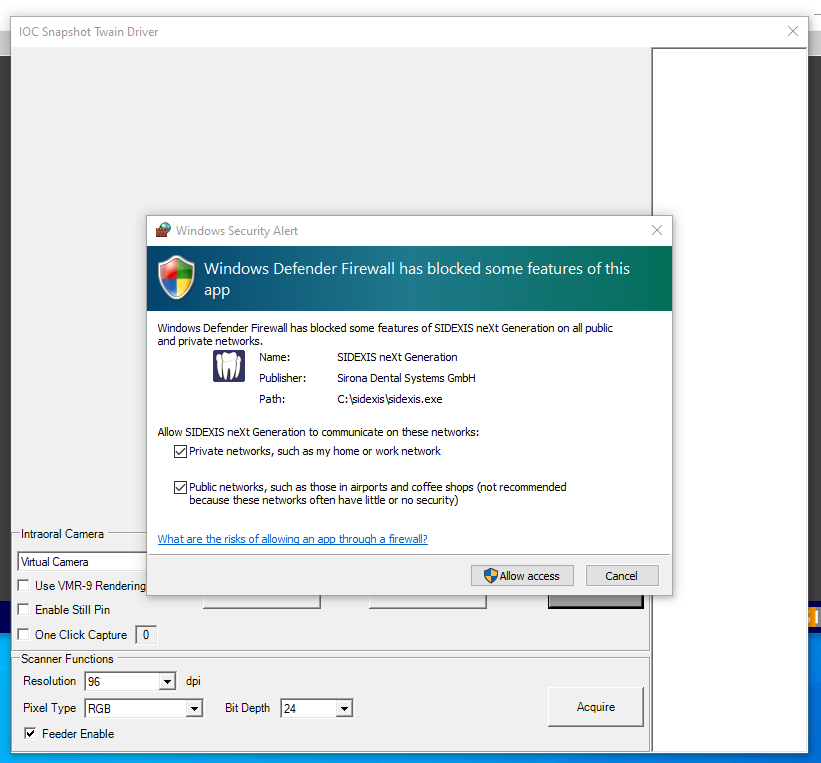
4. Now you may start taking images with the IOC Snapshot Twain driver. You can only take one image at a time.
- If you want to take an image from an iPhone or Android camera via Wifi, click the Phone and DSLR Button and start taking images. If the Windows Defender Firewall asks, checkmark all the buttons and click the Allow access button. Be sure to use the Private Wifi for the office and NOT the guest Wifi. It also helps to use the 5GHz spectrum instead of 2.4 GHz for faster transfer rates between the PC and Phone.
Open the IOC Snapshot app on the phone and choose a computer from the list. Now take an image.
- If you want to take images from a Canon EOS Camera, connect a USB cable to the Camera or pair the camera in the Canon EOS Utility that comes with your camera for Wifi. The USB cable method is more reliable.
- If you want to take an image from an intraoral camera, choose your camera from the dropdown list. Your camera should have been configured in the blue camera program and you can also enable Still Pin acquisition if your camera has the capability.
5. When you are done acquiring this single image, click the Acquire button.